
DIY Raised Beds


I read this week that home and garden sales are at an all time high. Incidentally, the Franks’ family farm was established in 2020.
Apparently, we weren’t the only ones with this idea. It certainly makes sense that many people have found an abundance of fresh, new hobbies. It seems like everyone I know is baking bread, tie-dying, or gardening. You have to choose at least one. We chose gardening. I’m sure the bread baking and tie-dying will happen for us in due time.
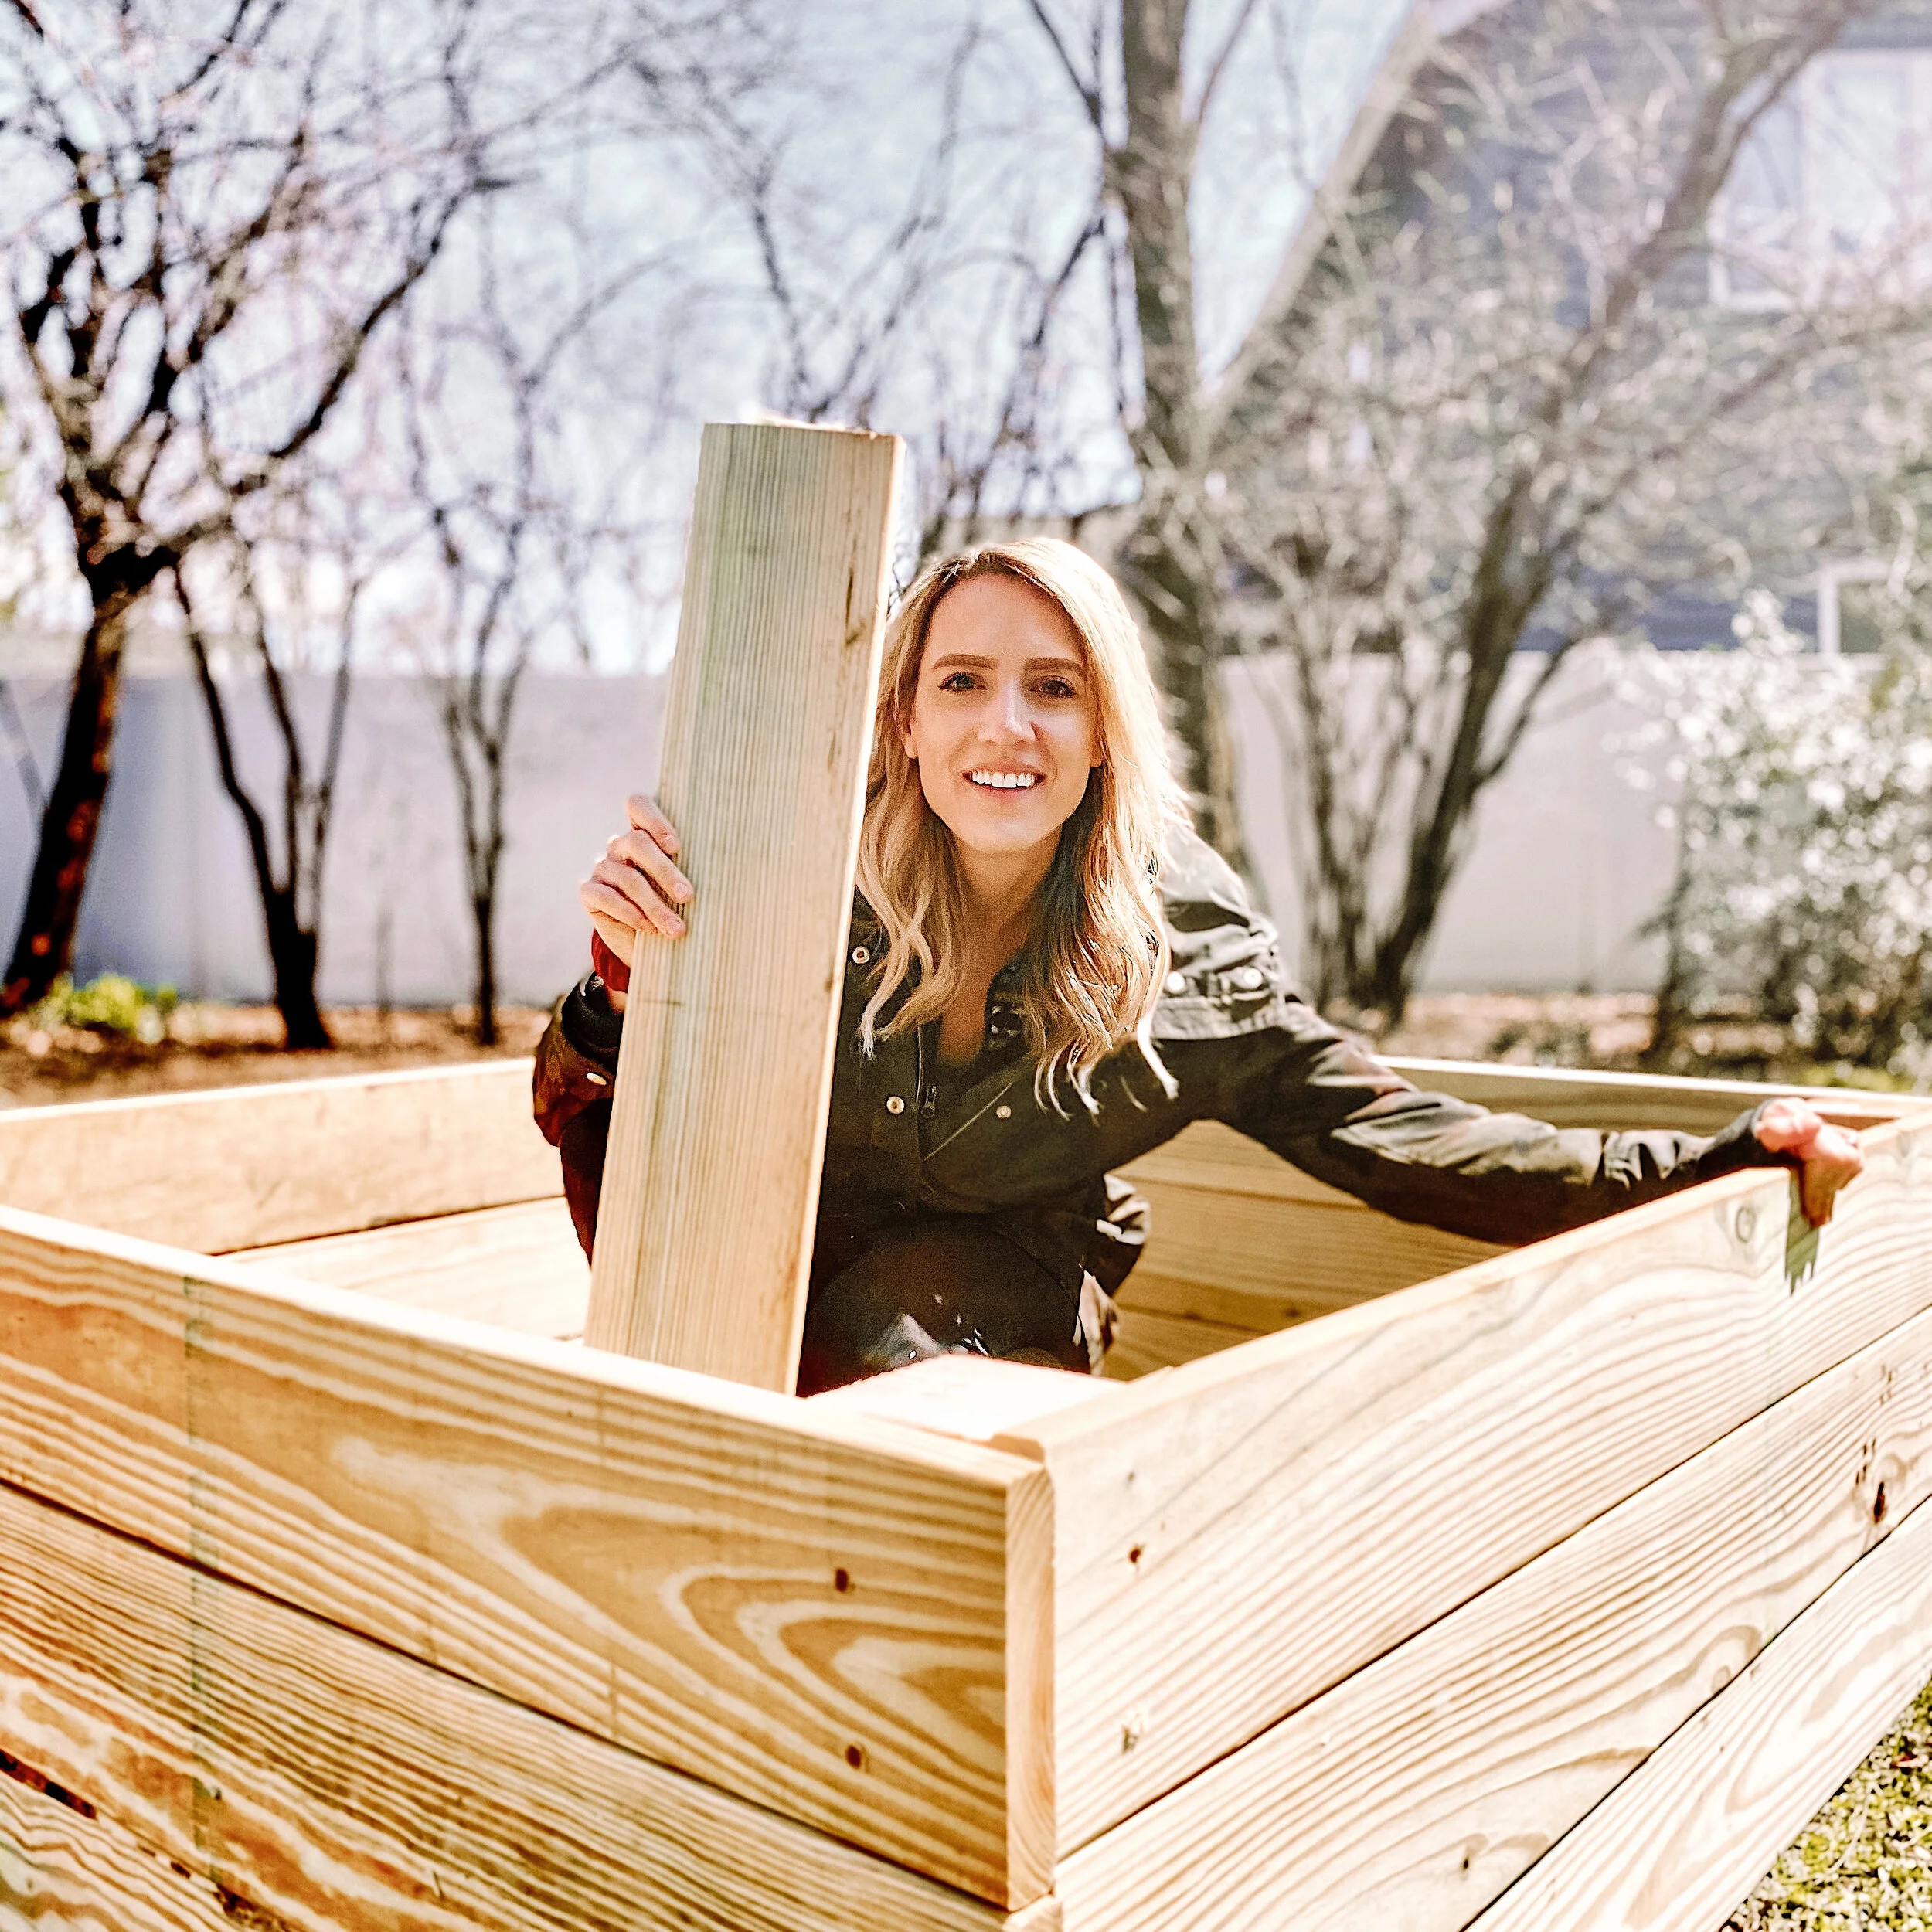
We’ve never had a green thumb. Actually, I probably would have called myself a plant assassin up until this point. Which is a shame, because I actually come from a line of farmers! My grandmother still has large farms where she grows and harvests corn. So, I’m relying on the small hope that there’s some farmer in my blood. My goal is to make one salad. I’d like one beautiful salad fresh from our garden. But before we can start sharing vinaigrette recipes, we had to start from the ground up. So this week, we built raised beds for our vegetable garden.
This is a super simple construction project for anyone new to woodworking. Materials wise, you’ll only need 1x6s, 4x4s, construction screws, and soil.
We started by determining how high we wanted our raised beds to be. Raised beds should be anywhere between 12-18in tall. So the first thing to do is plan our the height. We made our beds a bit on the taller side; we have tons of rabbits in our yard. We used three 1x6 boards to build the sides of our raised beds.

Next we cut the corner pieces to our planned height. We needed a 4x4 in each corner of the bed to hold it together. Wood planks aren’t usually cut exactly to specified sizes, so be sure to measure your 1x6’s when they are stacked. Our actual total height was 17in with each board lined up. We needed four, 17in tall, 4x4 pieces of wood.


We used one long piece of 4x4 wood and marked off 17 inches for each of our four cuts. Then we used a mitre saw to make the four cuts.


Once we had four equal pieces of 4x4 to frame out our corners, it was time to cut the rest of our wood to size. We marked out our 1x6s at 48in to create a 4ft by 4ft box. Each piece was then cut at four feet in length with our mitre saw.

If you don’t have access to a mitre a saw, Home Depot will actually cut all your wood for you — for free! Just be sure to ask for 12 cuts of 1x6 wood at 48 inches long. For the corners ask for 4 cuts of 4x4 wood at 17 inches long (remember to measure your actual height). This will be enough for one raised bed.

Then it was time to secure our “side boards” to our “corner boards.” We used construction screws to secure each board into the corner piece. The nice thing about this project, is that it doesn’t have to look perfect. If you’ve wanted to try to build something with wood, this is a great place to start. Raised beds are really just functional, and the plants are the pretty part. This is the perfect project for a beginner to start getting comfortable with power tools.

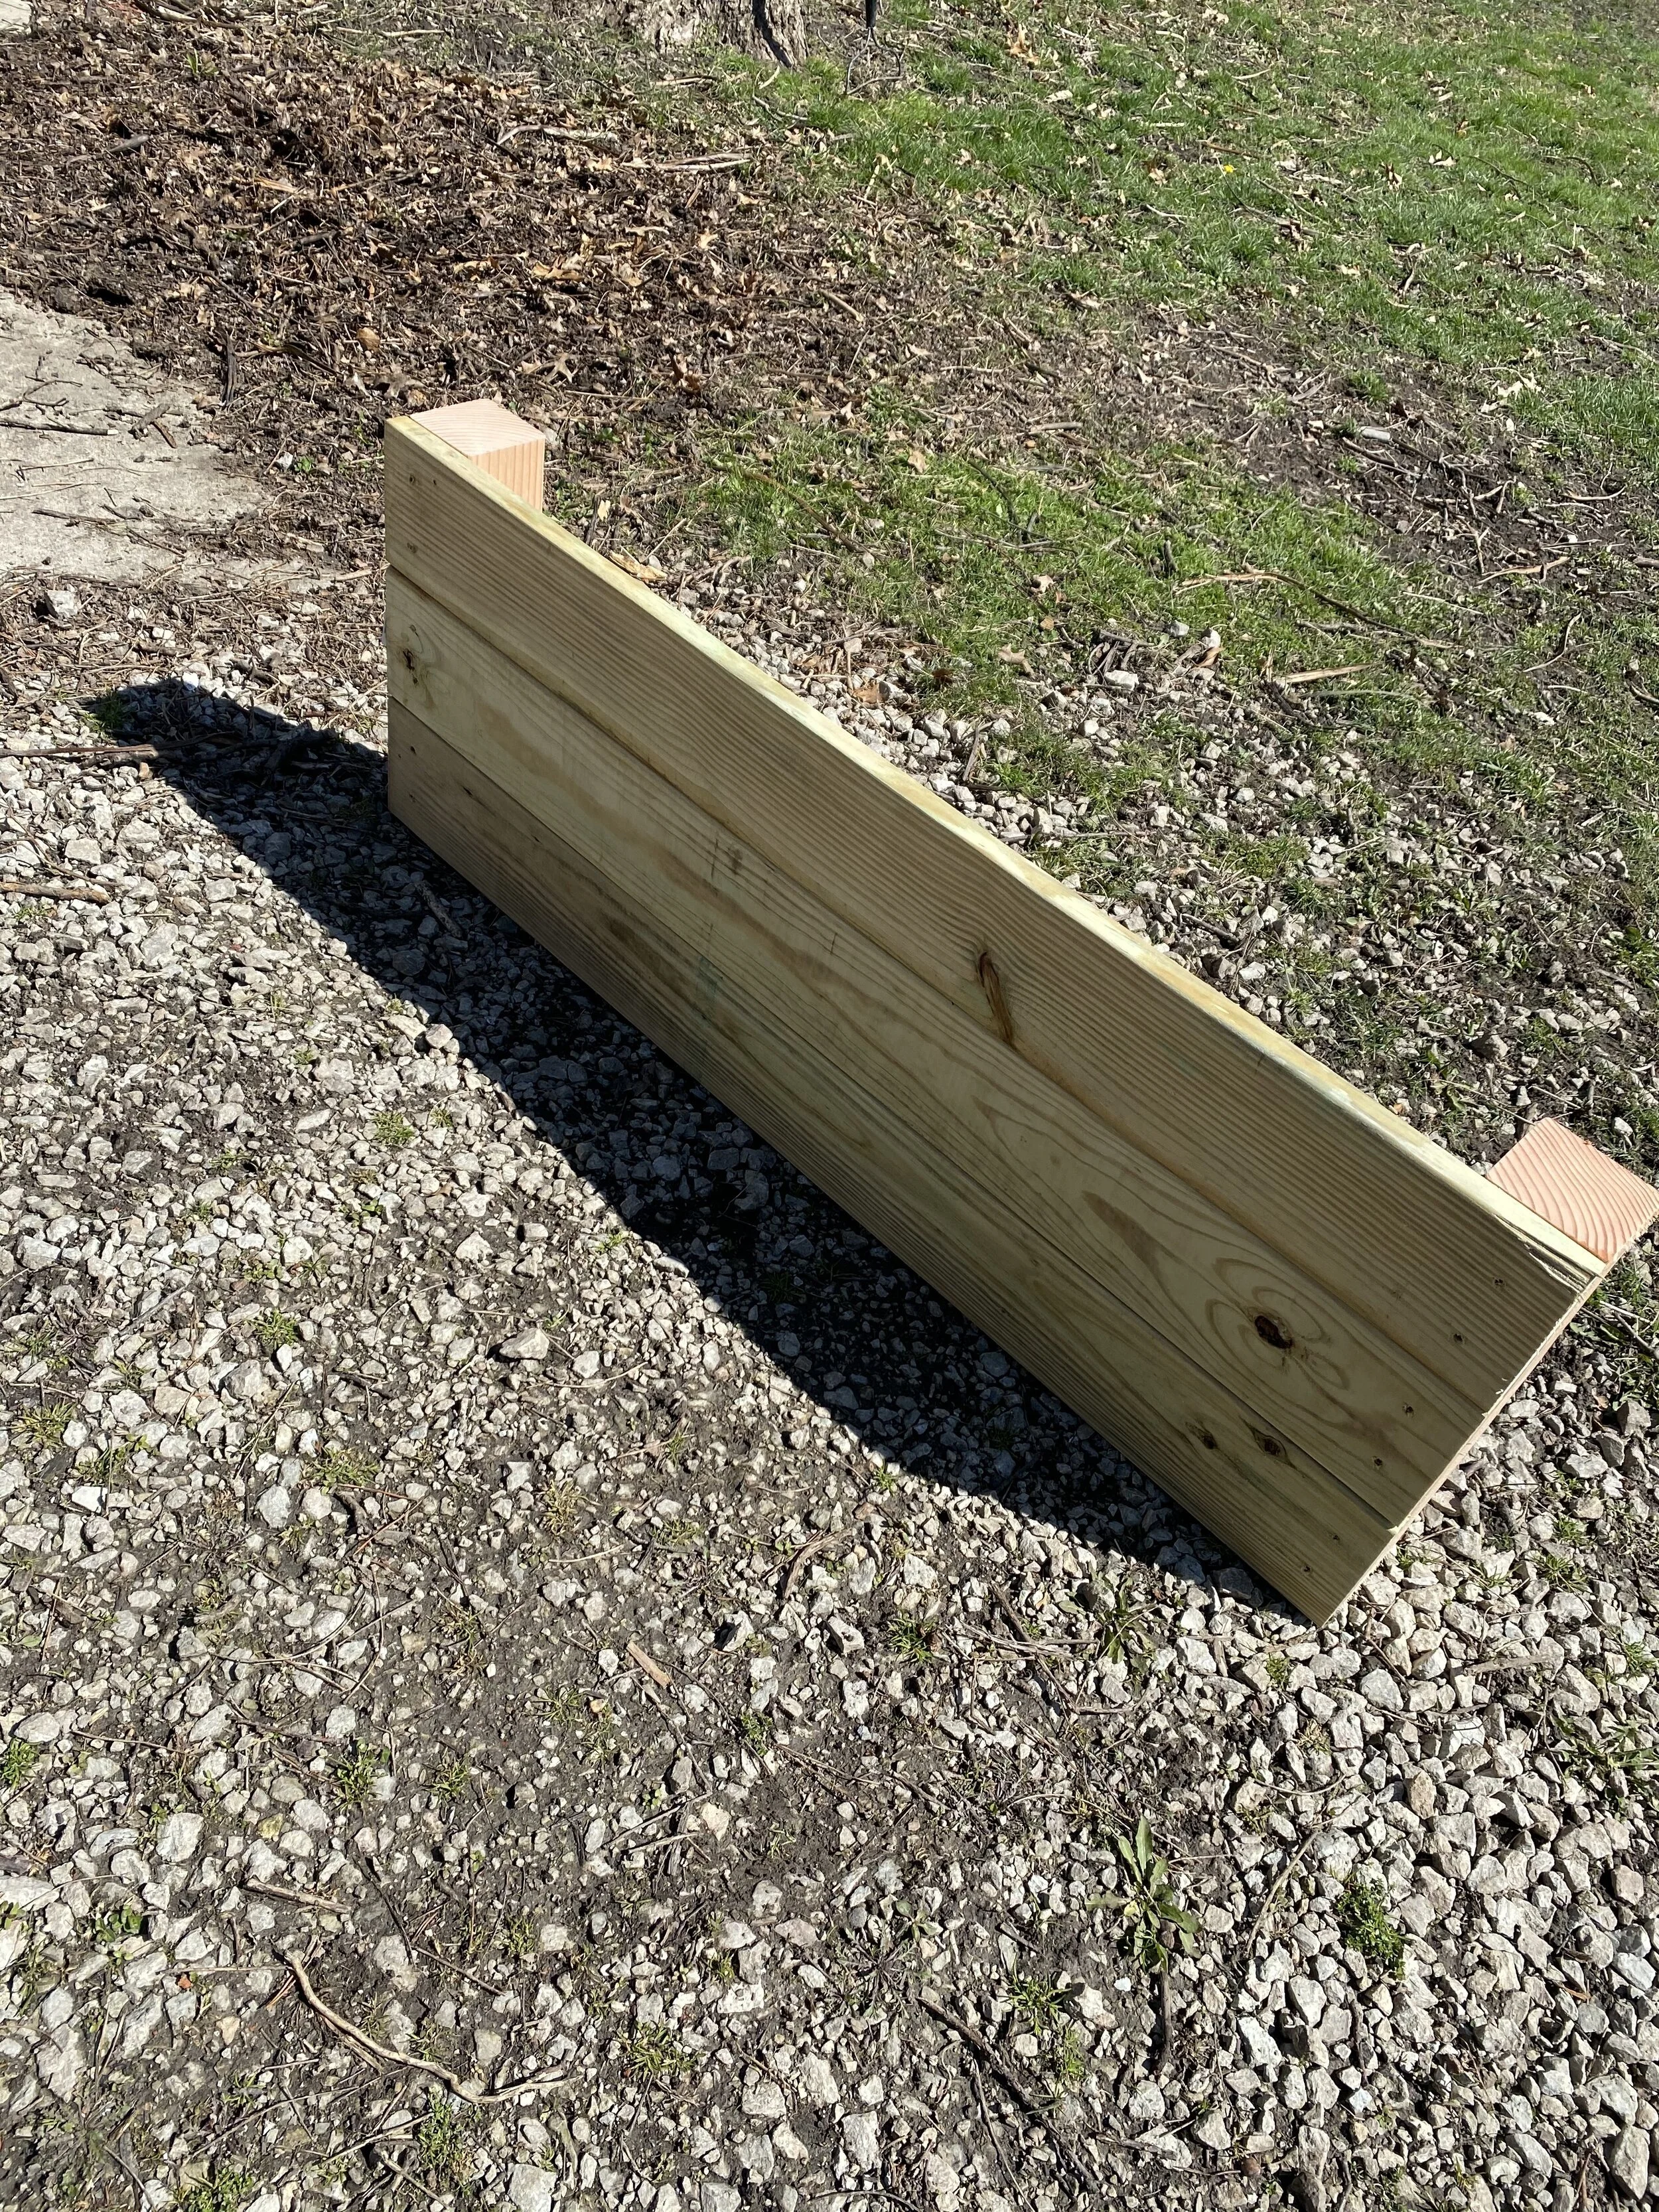
Ta da! One side completed. The rest of the raised bed will be built around this. Since all the wood should be cut to size, it’s just a matter of securing each piece together. Place a 1x6 against your corner post, and secure with a construction screw.

After all four sides are secured together, you’re done with the hard part! Now time to choose where to place your raised bed. Placement of the raised bed should be based on what you plan on growing. The vegetables that we’ve started seeding are full sun and partial sun veggies. We made sure to place one of our beds in an area of the backyard that has sunlight 7-8 hours per day (full sun). The other raised bed was placed in an area that gets about 4-6 hours of sun a day (partial sun).

Filling the raised beds was next. I would highly recommend starting a compost pile a few weeks/months prior to outdoor planting. It may not look like it, but it is expensive to fill these beds with good soil. We drastically underestimated how many large bags of soil to buy. We were definitely surprised at the cost. It took 4-5 bags of soil and 3 bags of mulch to fill each bed. You can easily end up spending hundreds on soil and mulch if you’re not careful.
Start by roughing up the grass with a rake or hoe. We pulled most of our grass out. Then, we lined the bottom of the raised bed with mulch, sticks, and leaves. Additionally you’ll want at least a foot or so of good soil.


After your bed is filled, you’re in great shape to start your vegetable garden. We’ll be sure to keep you posted on our garden progress. Keep an eye out for a future post on transferring seedlings to the raised beds.


