Butler Pantry Turned Coffee Nook

Towards the very back of our house, off the kitchen, we have a …“nook.” Essentially, it’s a small room with cabinetry and a sink. I believe many would refer to this space as a “butler’s pantry.” Unfortunately for us, our butler’s pantry wasn’t so functional.
The butler’s pantry looks like a nice place to store an expensive crystal collection, fine china, or other such fancy items. We did utilize this space to store some of our nicer kitchen wares, but honestly, I probably didn’t open a cabinet in the butler’s pantry for the entire first year in the house. We ultimately decided we needed a more functional space that worked with our lifestyle.

The butler’s pantry before.
I pretty quickly decided I would love to have a coffee nook. Barrett and I are both coffee drinkers. Barrett, in particular, loves a variety of coffee gadgets. Espresso makers, frothers, grinders, and all the different types of beans. These items definitely were taking up a lot of real estate in our kitchen. A coffee nook seemed like the perfect cozy addition to our first floor.
The first thing we did was rip down the upper cabinets, which was pretty simple. We knew we wanted to tie in the same subway tile, paint, and hardware from our kitchen.
In order to prep for subway tile, we needed to protect the counters and sink. We used painters tape and newsprint to cover all the surfaces. We then removed all the switch and outlet covers. Tile in a kitchen setting is way simpler than tile for a bathroom; you can really just apply the tile directly to the dry wall. We used a 3x6 subway tile . If you haven’t noticed already, this is truly my favorite way to inexpensively “fancy up” a kitchen or bathroom. These tiles run at $15/box, and we used about two full boxes for this project.
I recommend laying out your tile to understand your pattern beforehand. This helps to ensure there are no slivers on the ends, and that your pattern is centered.
To hang tile, we used this tile adhesive to adhere each tile to the wall. Barrett used a grout float to apply the tile adhesive to the wall in small sections, at a time. We found we really didn’t need much adhesive at all, a small amount will hold your tiles in place. Once the adhesive is on the wall, we began to apply our tiles. We applied the tiles individually, and made sure to use a level with each row. We also painstakingly applied tile spacers on each side of the tile. The tile adhesive takes time to dry, allowing us to step back often and adjust any tiles that needed a little fix.
Laying tile is actually super easy! The only real tricky part is when cutting is involved. We’ve had quite a bit of luck with glass cutters and tile nippers. I’ve also heard that a wet saw works great, if you have access to one.
Finally, once all the tile was up, it was time to grout. Be sure to let the tile adhesive dry for 24 hours before applying grout. We used pre-mixed grout. The trick to grout is to apply it to a small area of tile, and wipe with a wrung sponge after 13 minutes or so. The sponge will clean off any excess grout and the haze from the tile.
Finally, we caulked where the tile meets the counter. After the tile was completed, we needed to mount the shelves.

The shelves were super simple and inexpensive. We purchased some thick, raw wood from Home Depot. We then cut the wood to size, sanded with our (beloved) Dewalt Hand Sander, and stained with a natural honey stain.
Finally, it was time to mount the wood to the wall. We actually followed YoungHouseLove’s guide, and can’t recommend enough.
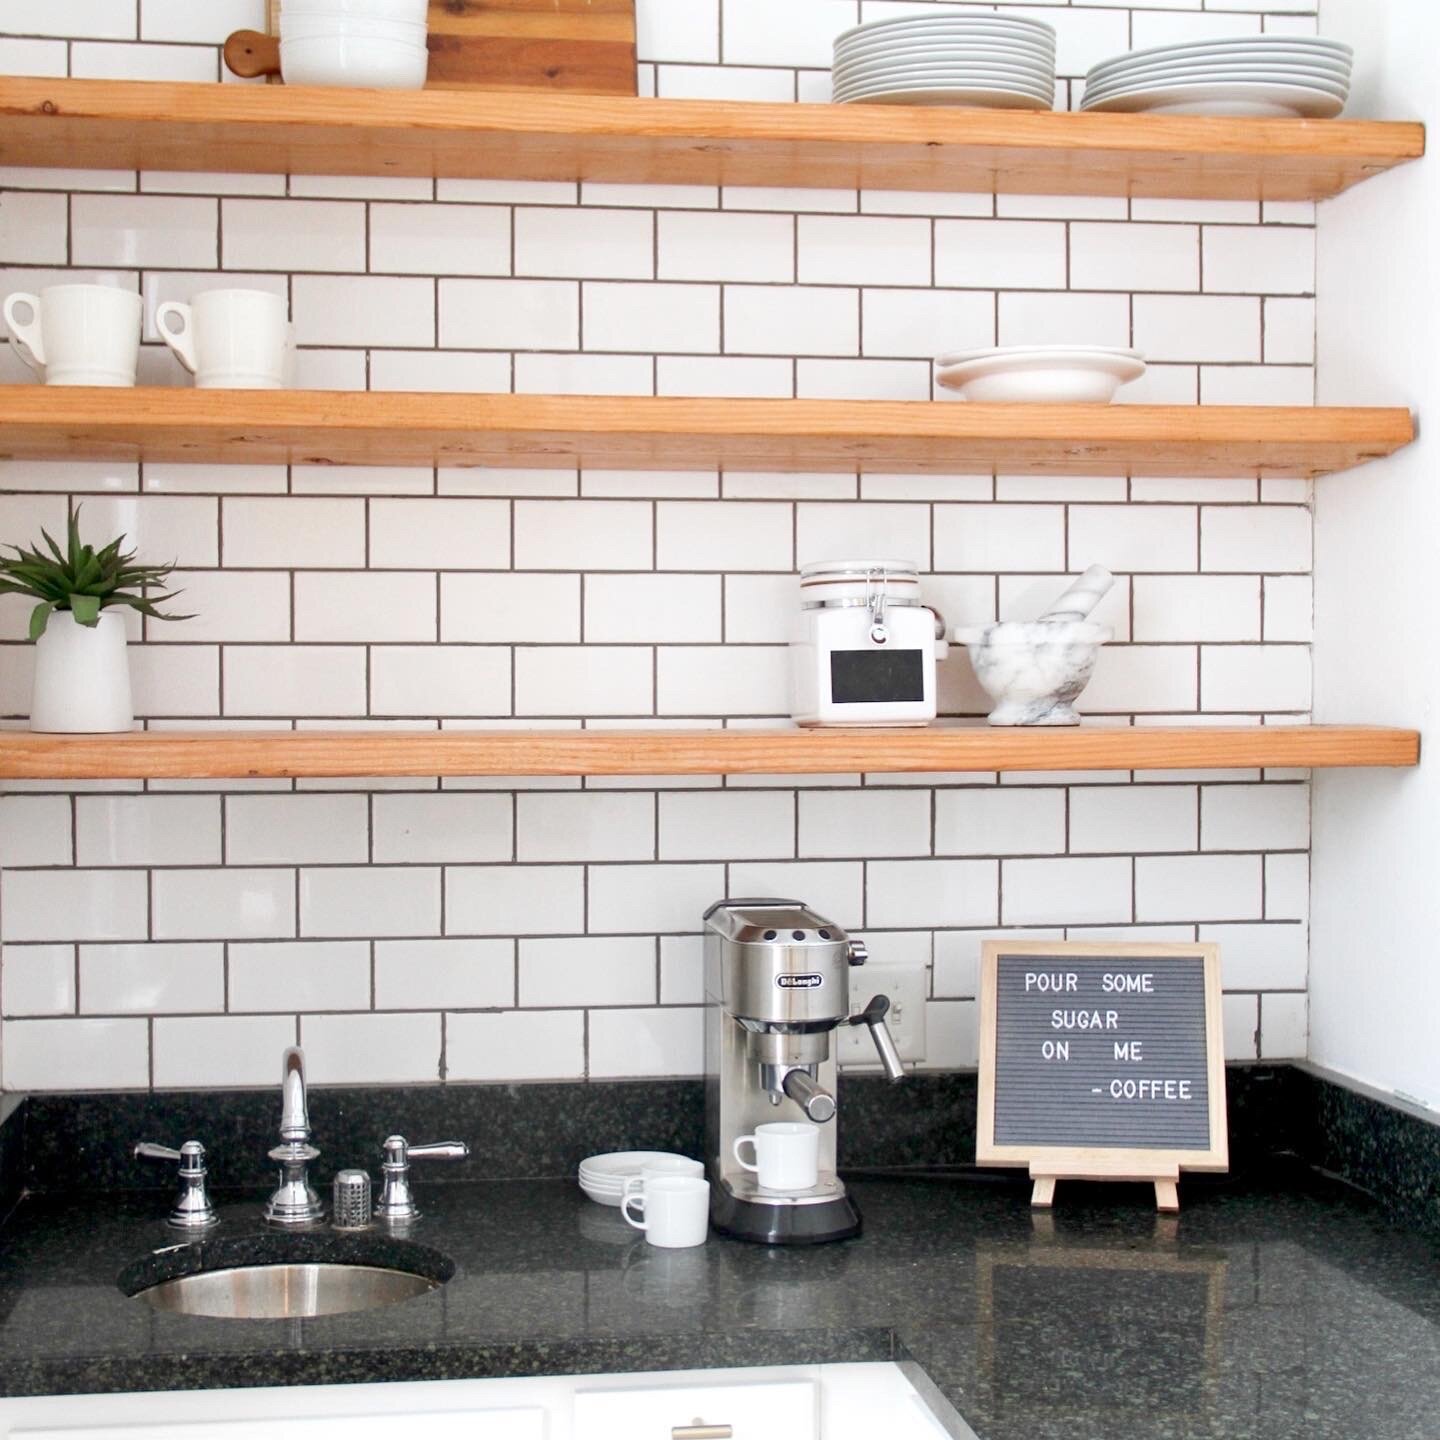
Finally, we added all our coffee instruments to the space. There’s plenty of storage space under the counters for various coffee items and mugs. Check it out!