Painted Tile Floors

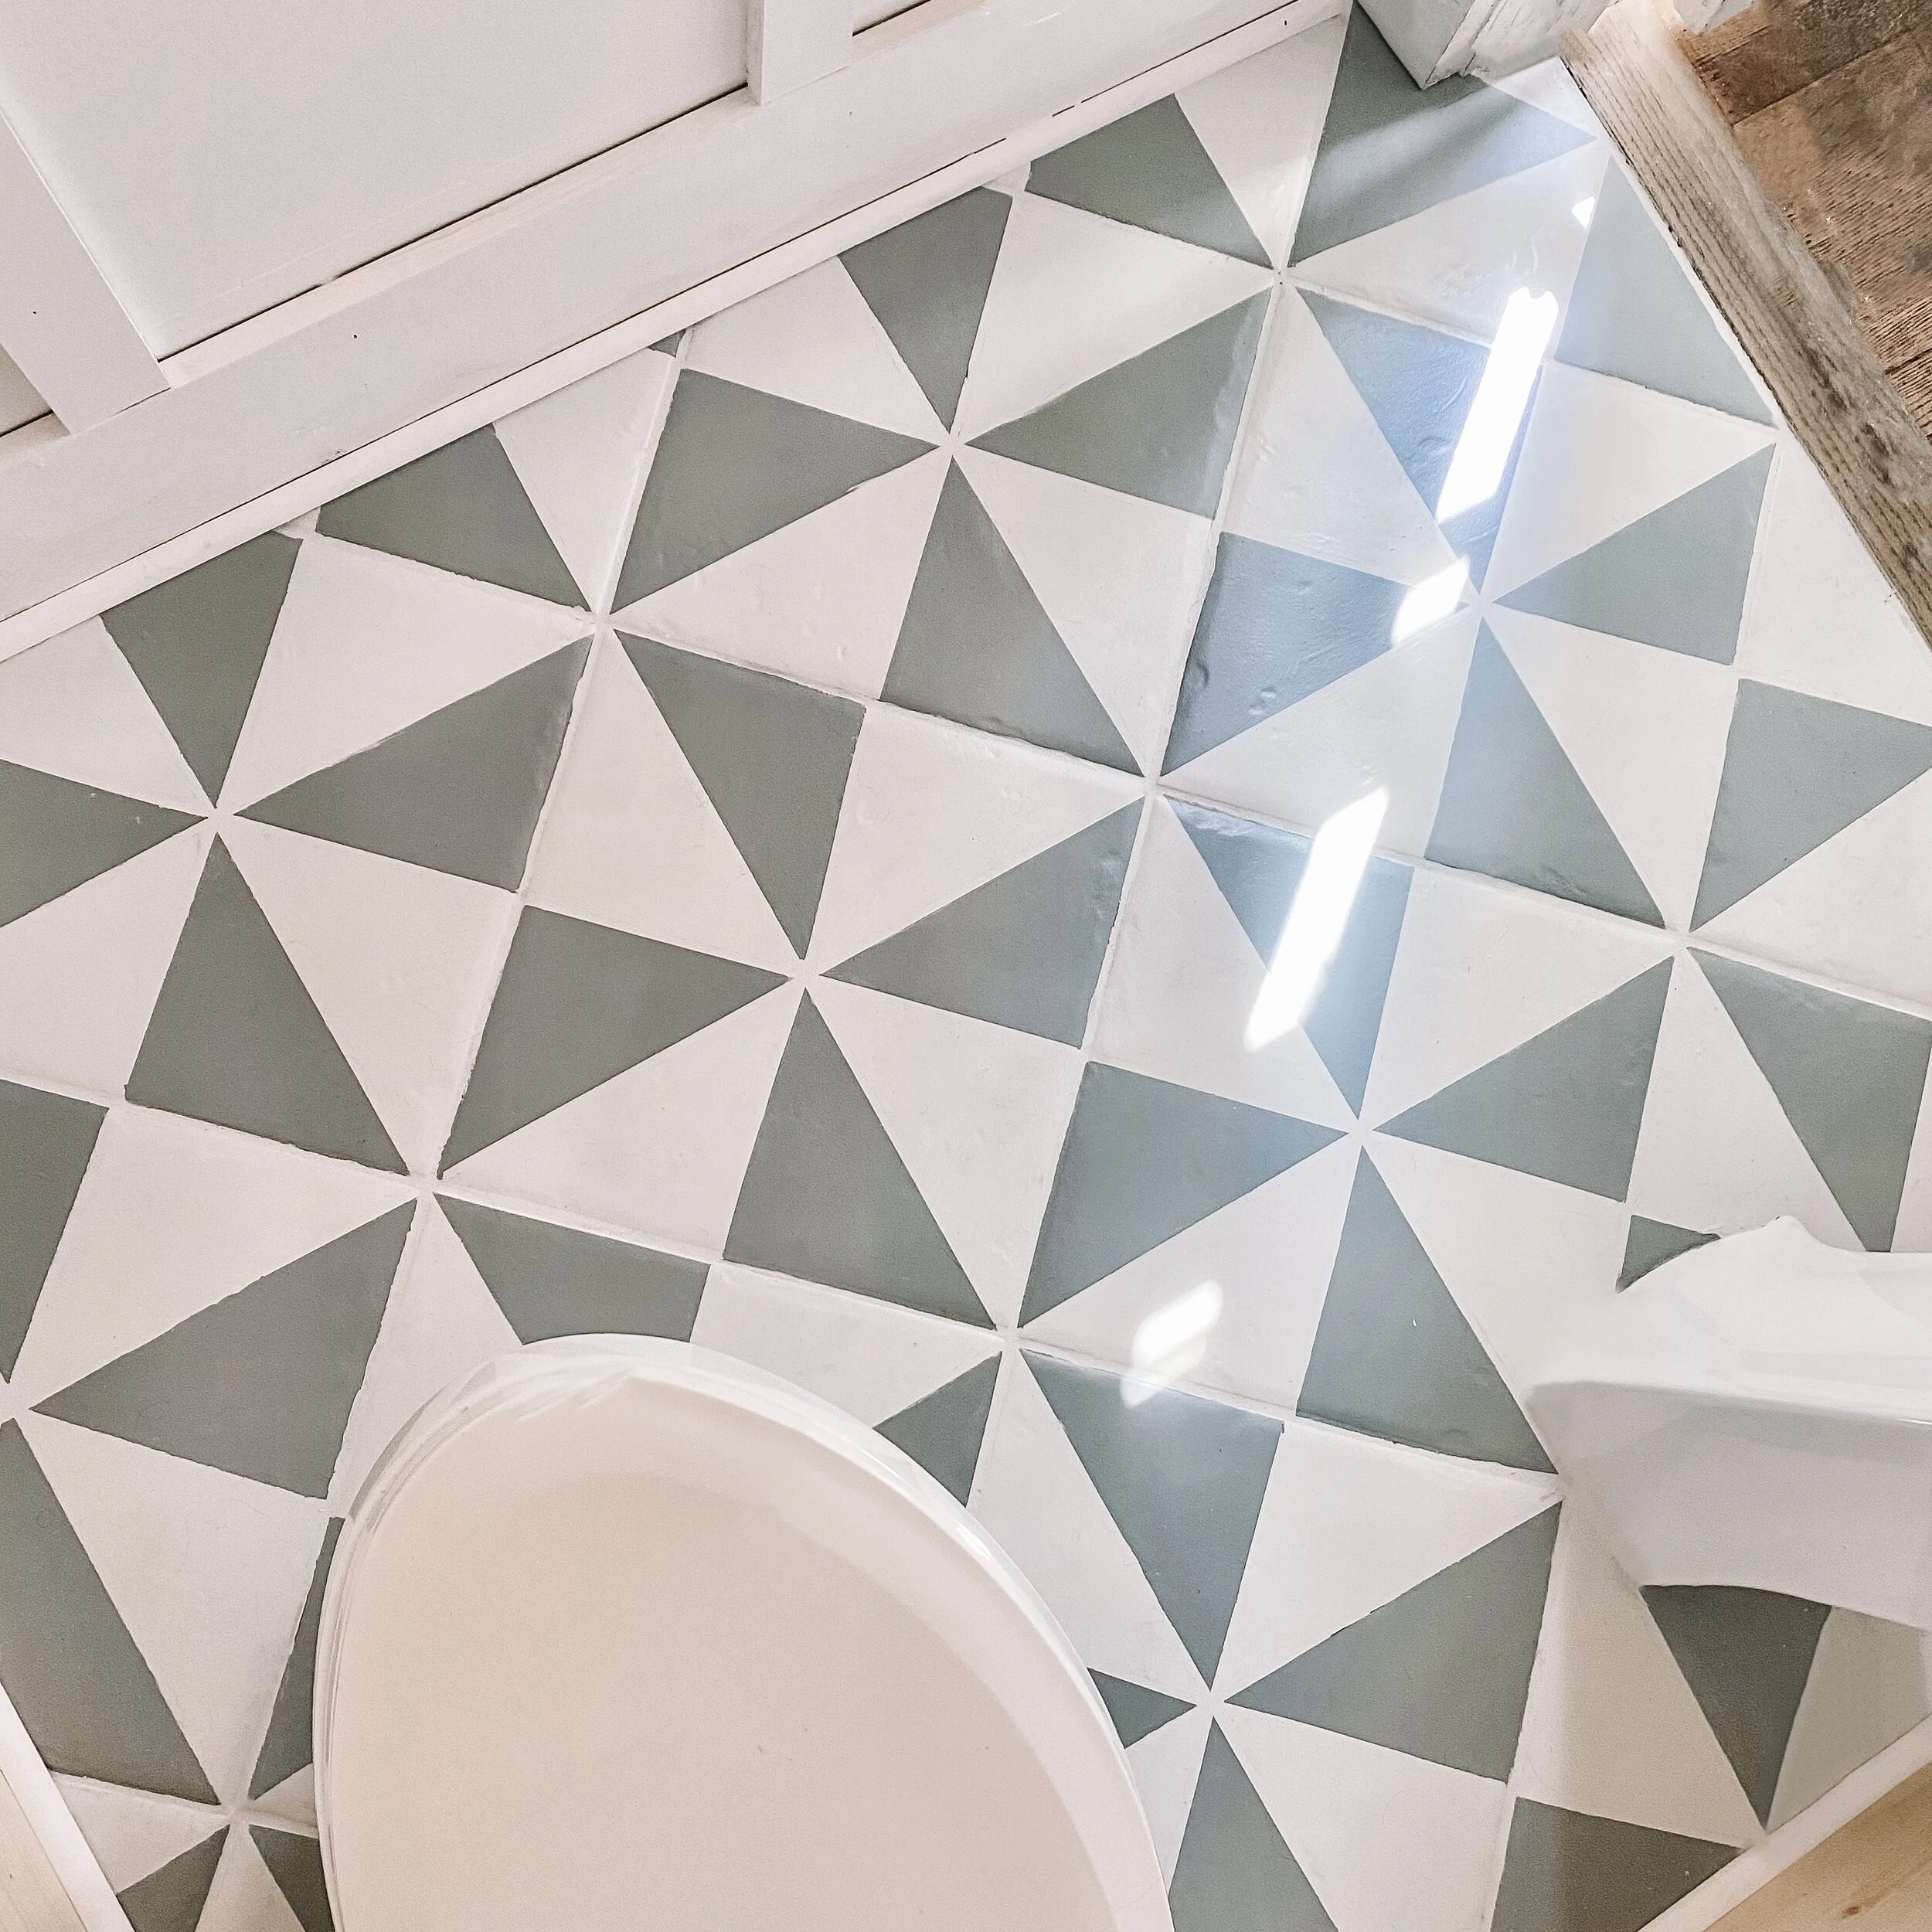
I have to say, I’m so pleased with how this transformation turned out! We painted our tile floors, and they turned out great.
We have that boring, beige, builder’s tile in a few rooms of our house. I feel like I’ve seen this tile everywhere. However, this update was inexpensive, easy, and delivered great results. I’m definitely going to be trying this out throughout our house.
This process would easily work with linoleum, vinyl, or even wood (if you dare). Here is what our tile looked like before:

For this project we used:
3/8in nap roller
Paint brushes (various sizes)
Rustoleum Rocksolid HOME Floor Coating Base Coat in Steam Gray
Rustoleum Rocksolid HOME Floor Coating Base Coat in French Gray
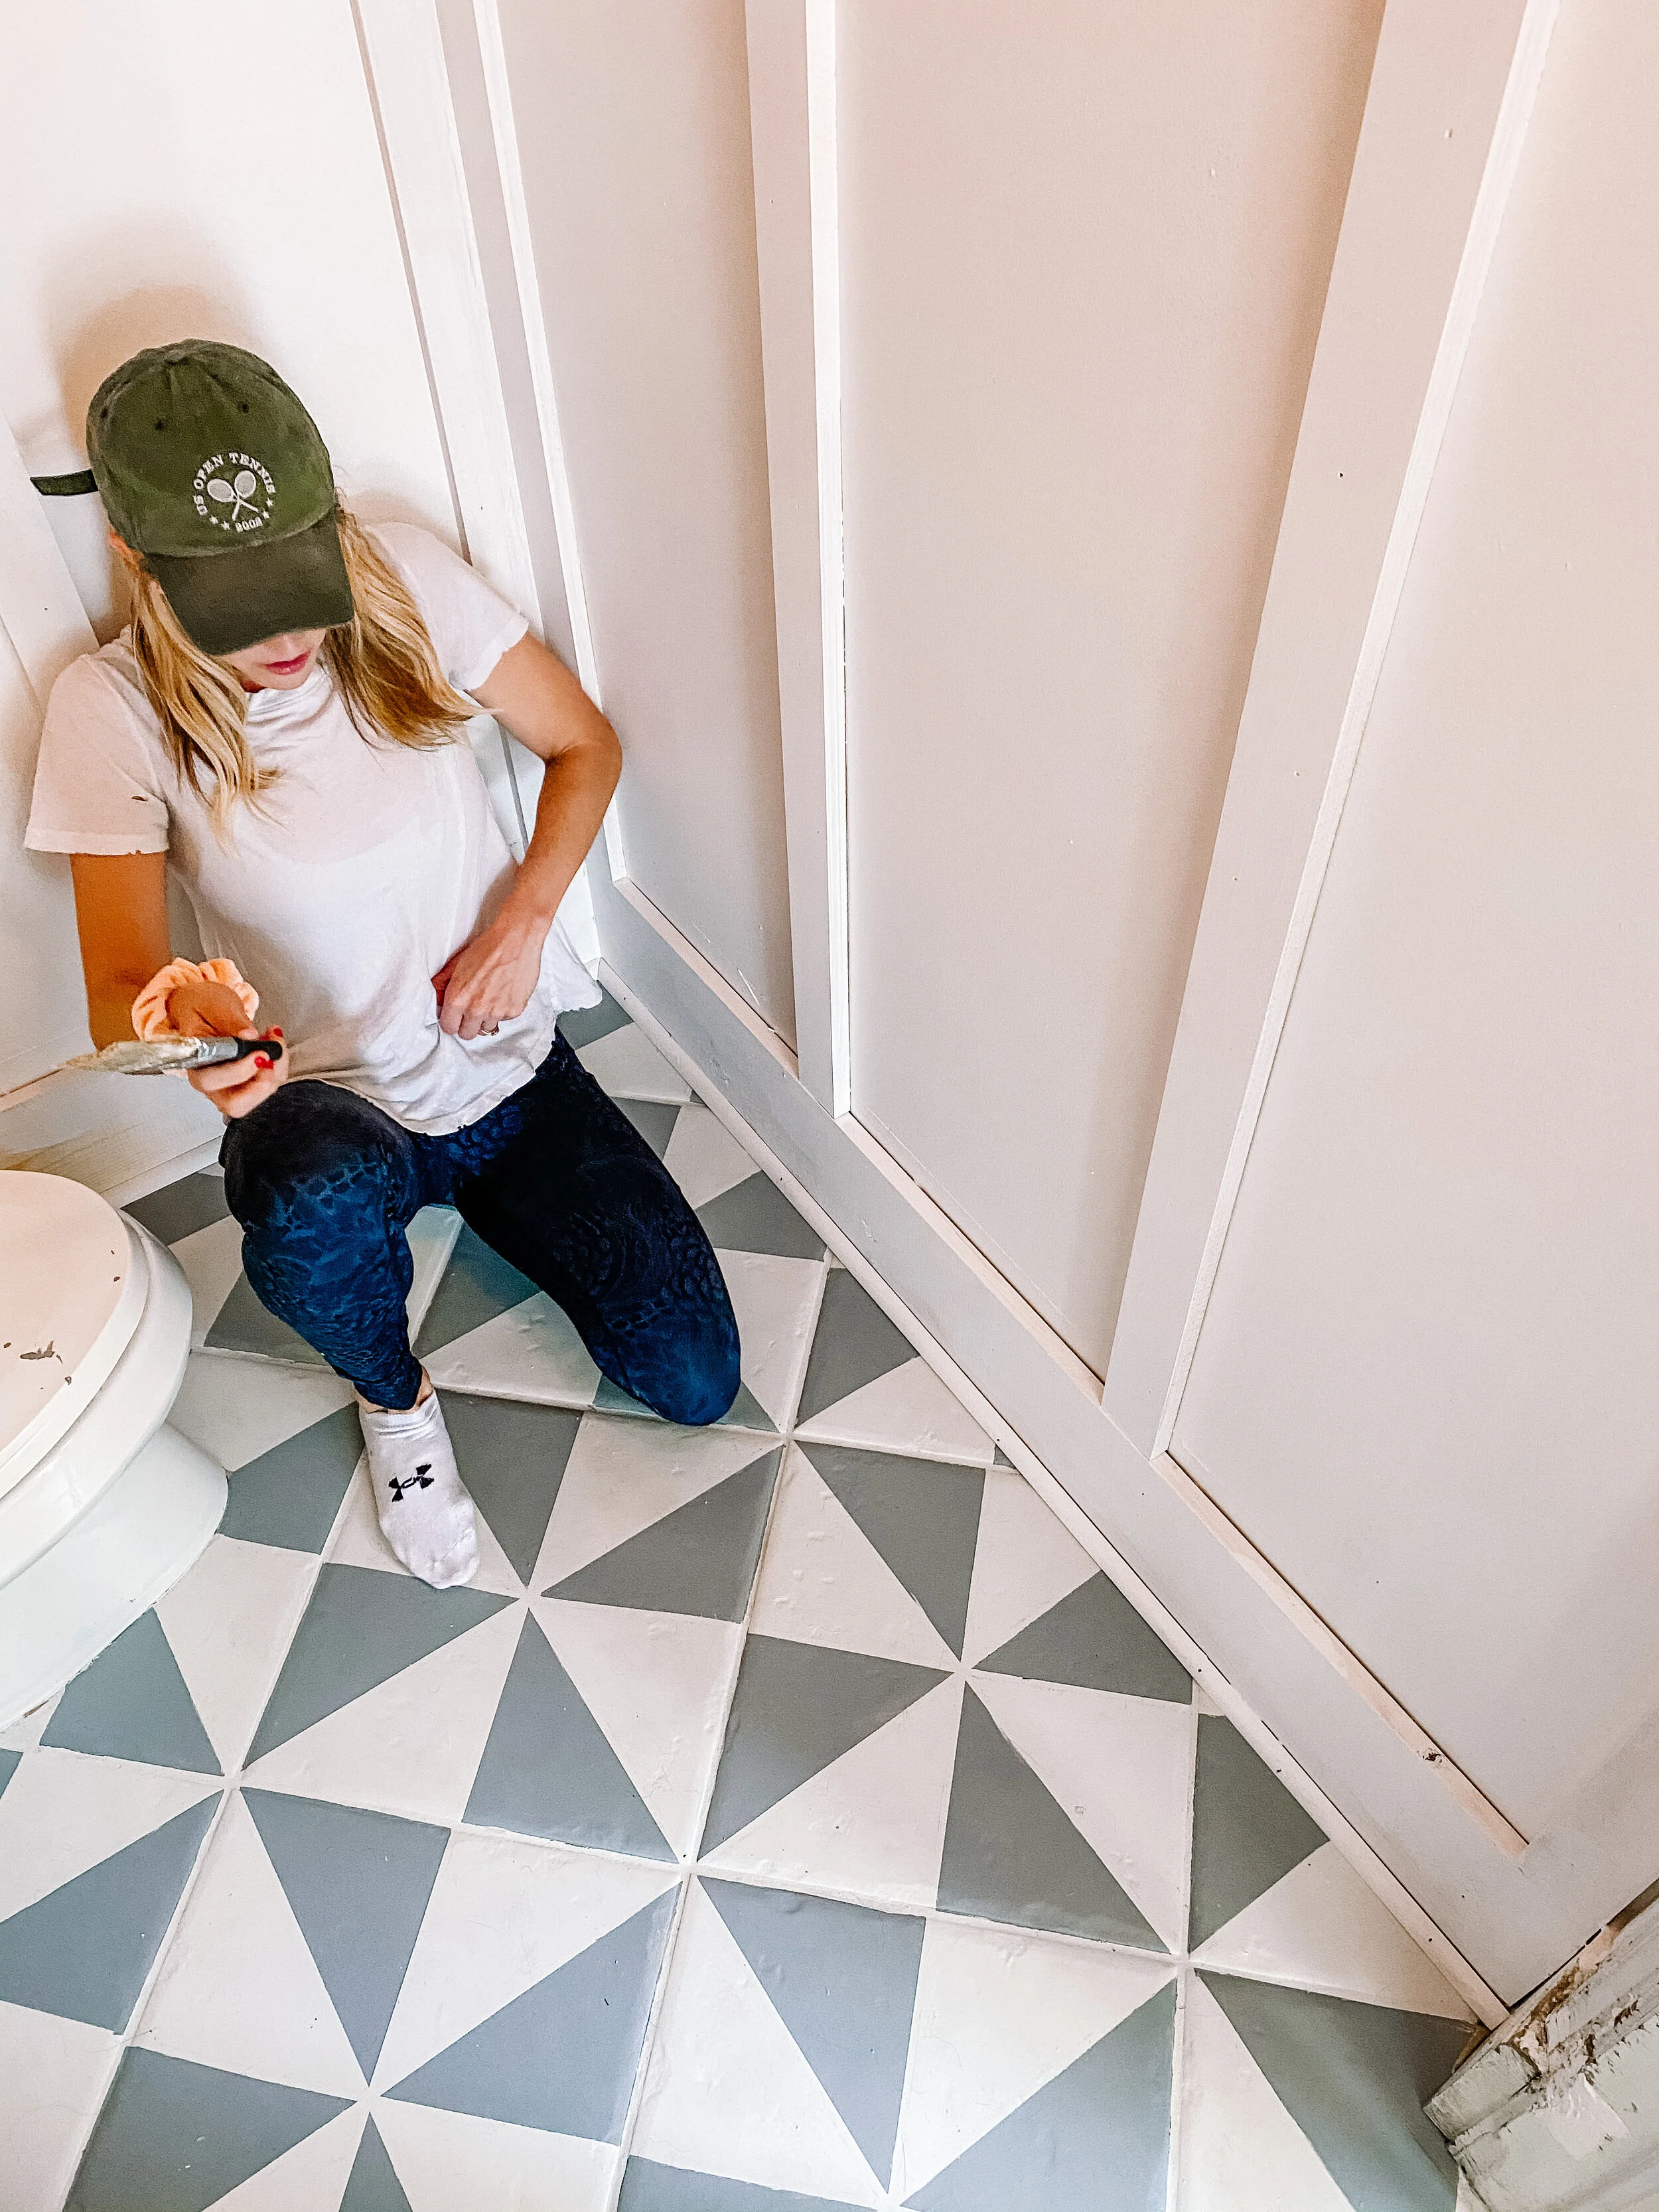
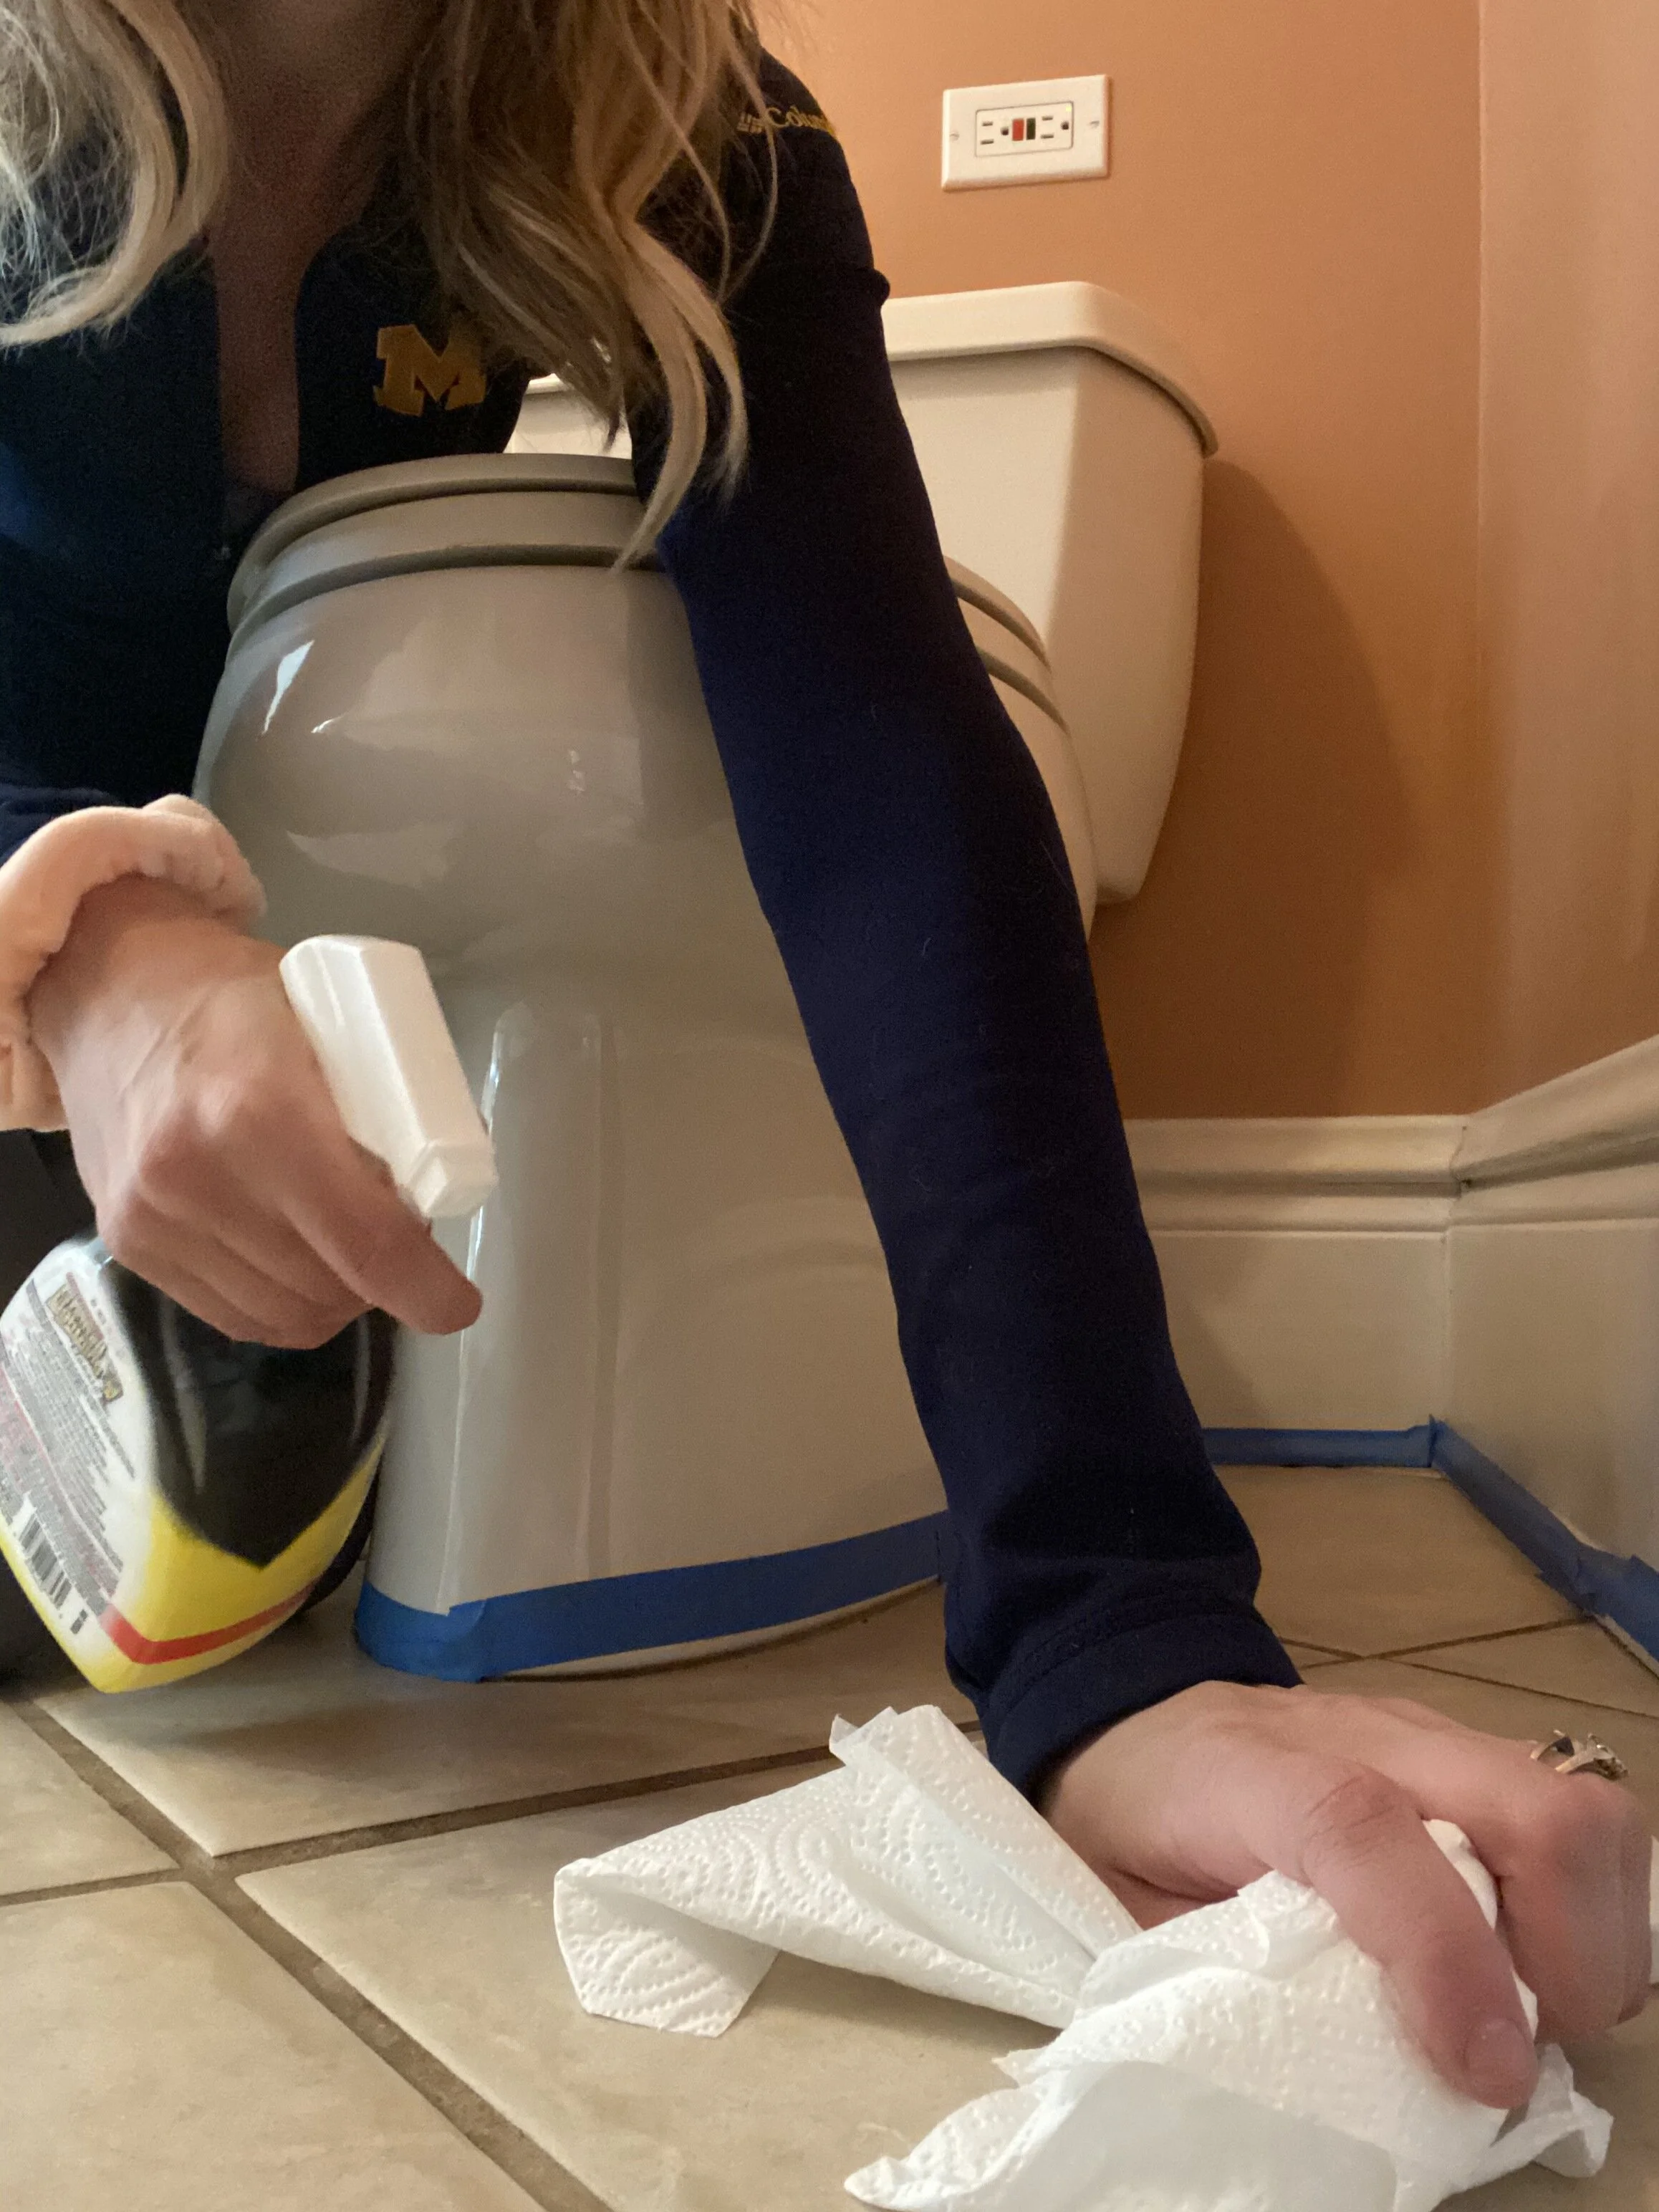
The first thing we did was prep the floors by taping around the baseboards, toilet, and sink. Next, we cleaned our floors with Greased Lighting to get off all grease, grime, and dirt. This paint is super sticky so anything left on the floors will definitely get stuck. We then vacuumed and used a blow dryer to get every little speck of dust off the floor.

The next step is to paint on the base coat of the Rustoleum Rocksolid Home Floor Coating in steam gray. We chose the steam gray as the base color because it’s a really light, soft gray. I recommend using a 3/8 in roller for this. It was a little tricky to get in all the corners and grout lines.
I then let the base coat dry for 6 hours.


After I painted my base coat, I felt like I needed a second coat to ensure it was really opaque. If you’re in a hurry, you could definitely get away with using only one base coat. Be warned, the tiles will feel pretty tacky until the top coat is applied. I wore socks and utilized a piece of cardboard to prevent leaving any foot prints behind.
Then, it was time to tape off my pattern. There are bunch of great tile stencils out there, but I decided to use a geometric pattern. My tiles weren’t totally flat, so I worried that the stencil might bleed everywhere.
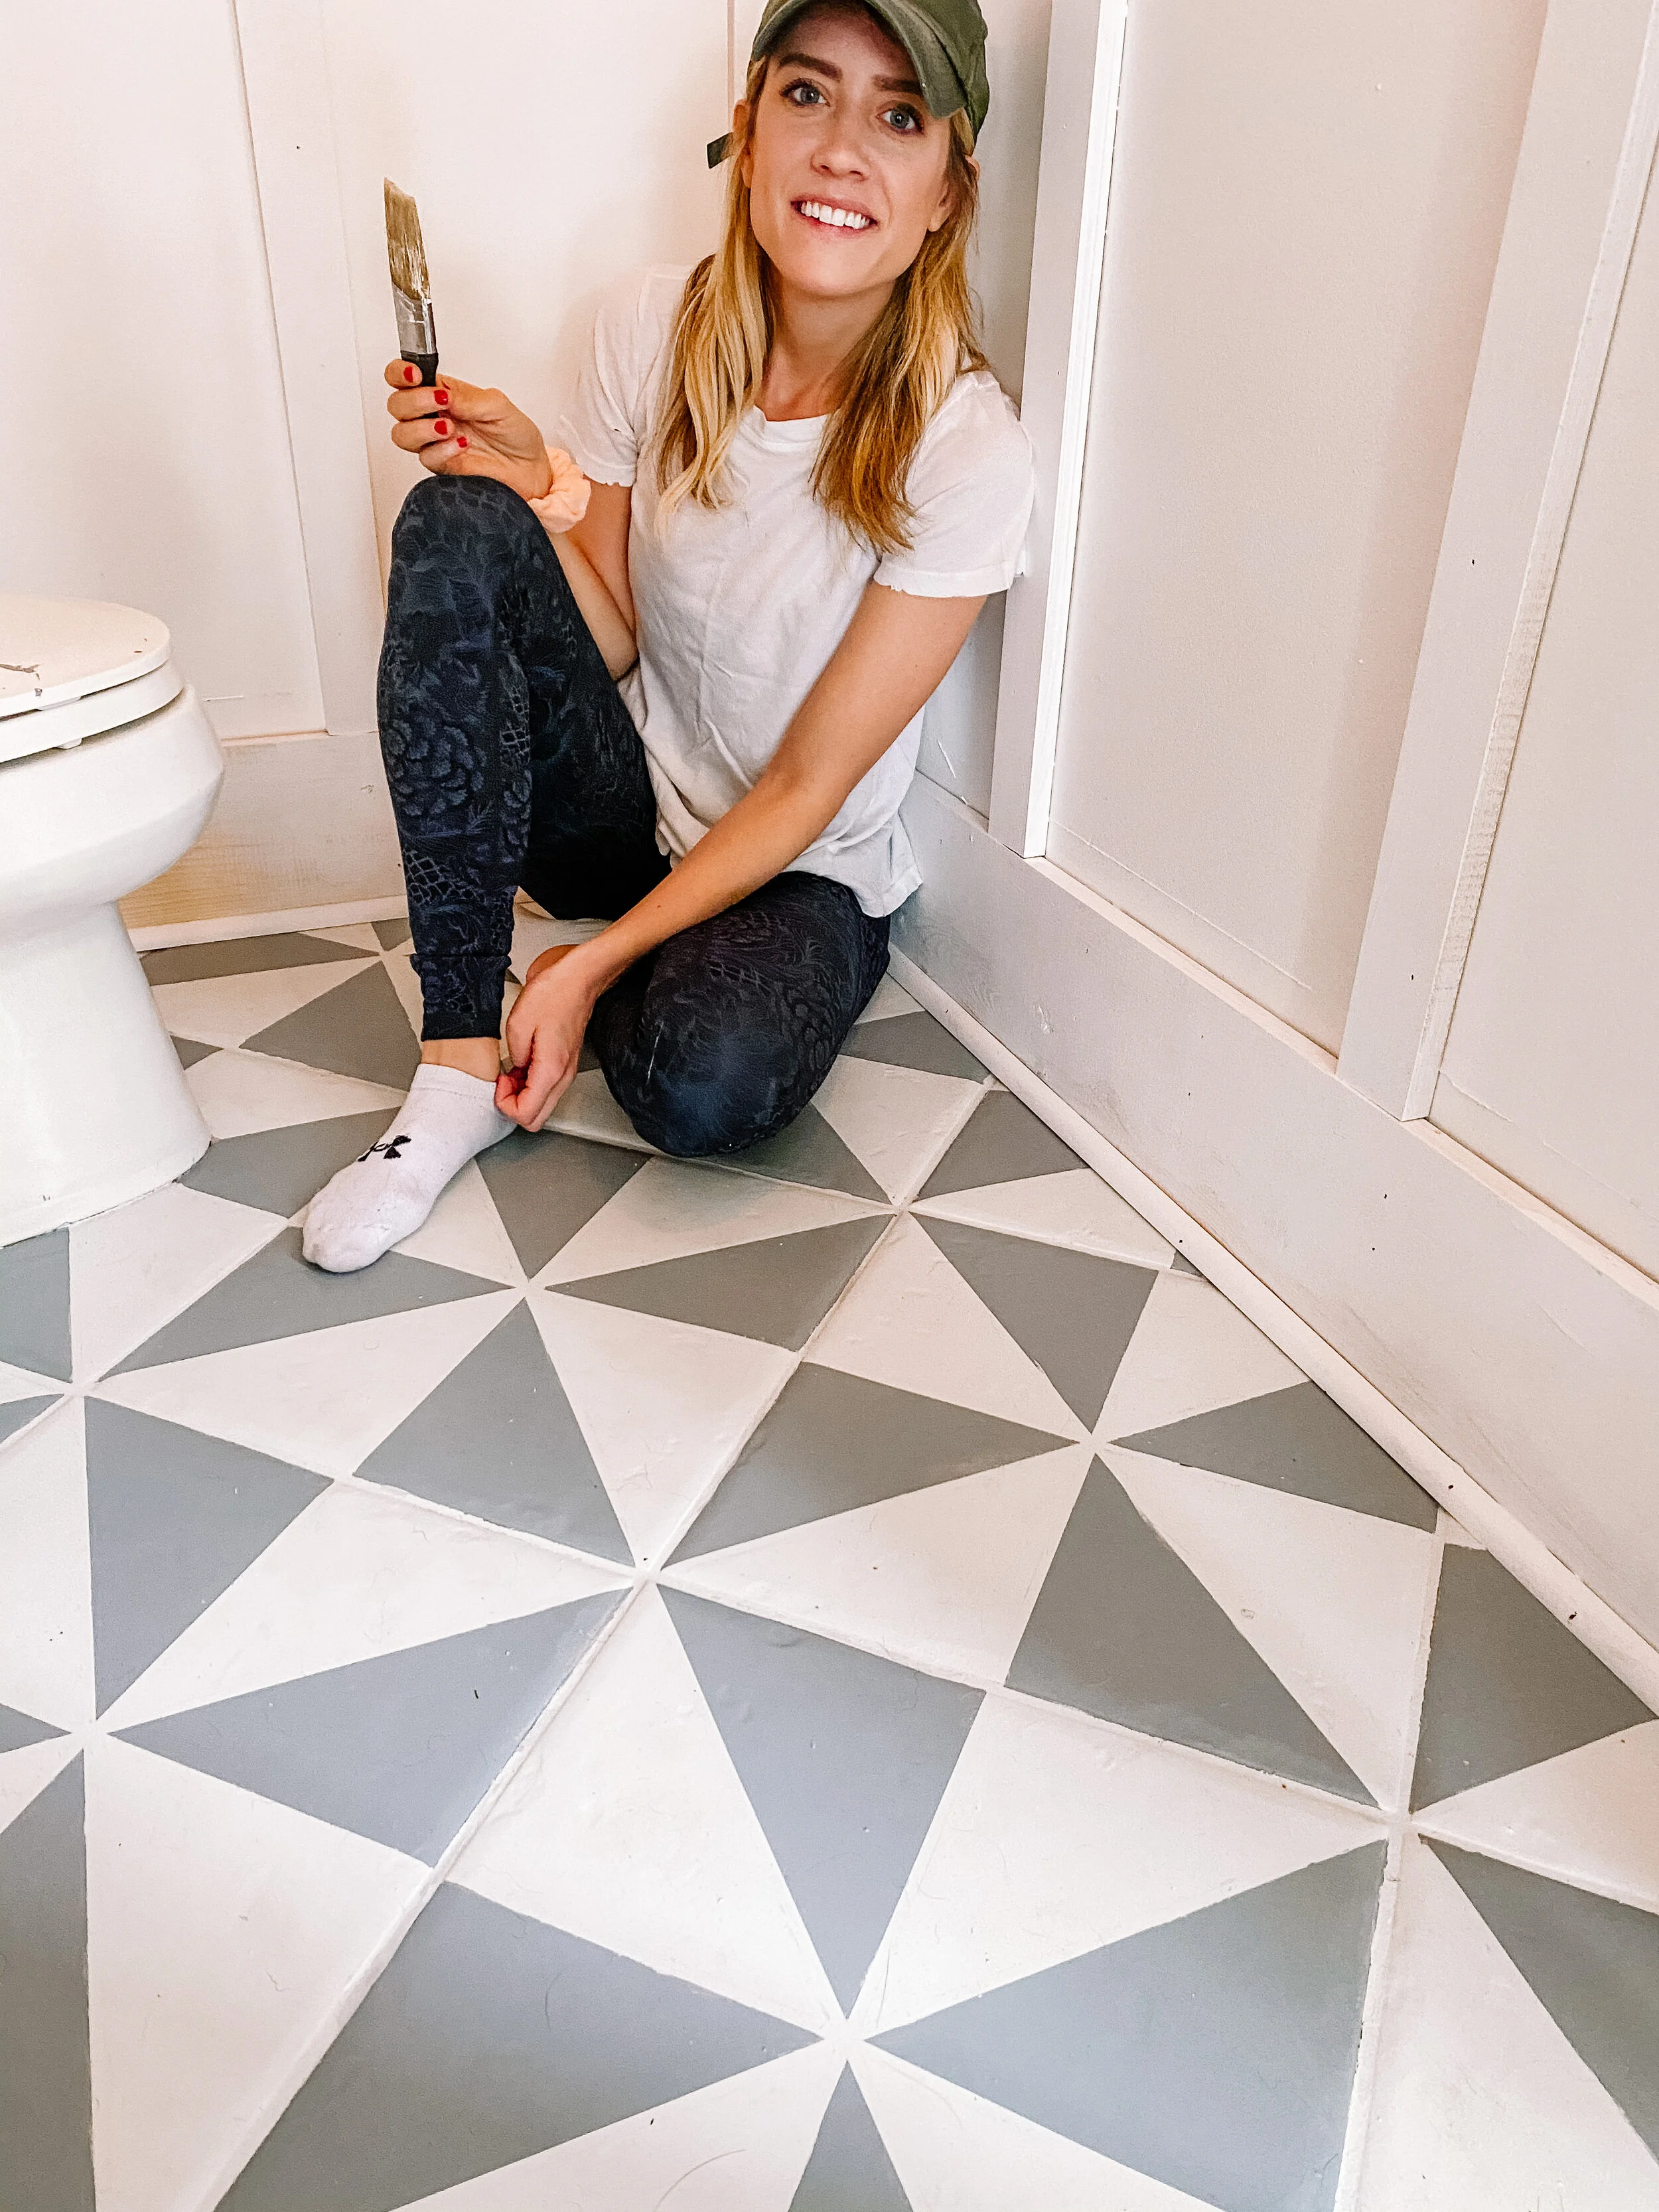
I used 1/4in painter’s tape to ensure the lines were fine and sharp. I went with a pinwheel style pattern for my floors, but you could definitely do vertical lines, plaid, checker board, etc.

I wanted my lines to be really crisp, so I painted over my tape with the base color (steam gray). This ensures that all the edges are sealed, and none of the second color gets under the tape. I let this coat dry for 1-2 hours.

Then it was time to paint on the second color. I used a paint brush and roller to fill in with the second base color (French Gray). I waited 1-2 hours between coats, and did two coats of my second color.
This step is tricky! Sometimes I found my brush was too big to stay within the fine 1/4in tape lines. I tried not to worry about it too much because I knew I’d go back over my pattern to fix any mistakes.

Tape is still on in this photo
After waiting 1-2 hours, it was time to remove the tape! Pulling up all the tape was so satisfying.
After all the tape is removed, it’s time to touch up any mistakes. This step was crucial and made the floors look so much more professional. I went over with a fine artist paint brush to touch up each triangle.

After all mistakes were corrected, it was time to apply my top coat! I used a roller to apply the top coat. The top coat seals everything in, and it protects your floors from chips and scratches.
It’s recommended to use one top coat, but I utilized two since this is a heavily used area by our dog. (We can talk about that another time.)


We waited 24 hours for foot traffic, and it’s advised to wait about a week before placing furniture on the floors.
It was that easy! We’re loving our new custom floors. This project cost us less than $100, and is so much less expensive than re-tiling the bathroom. Anyone could easily knock this out in a weekend.
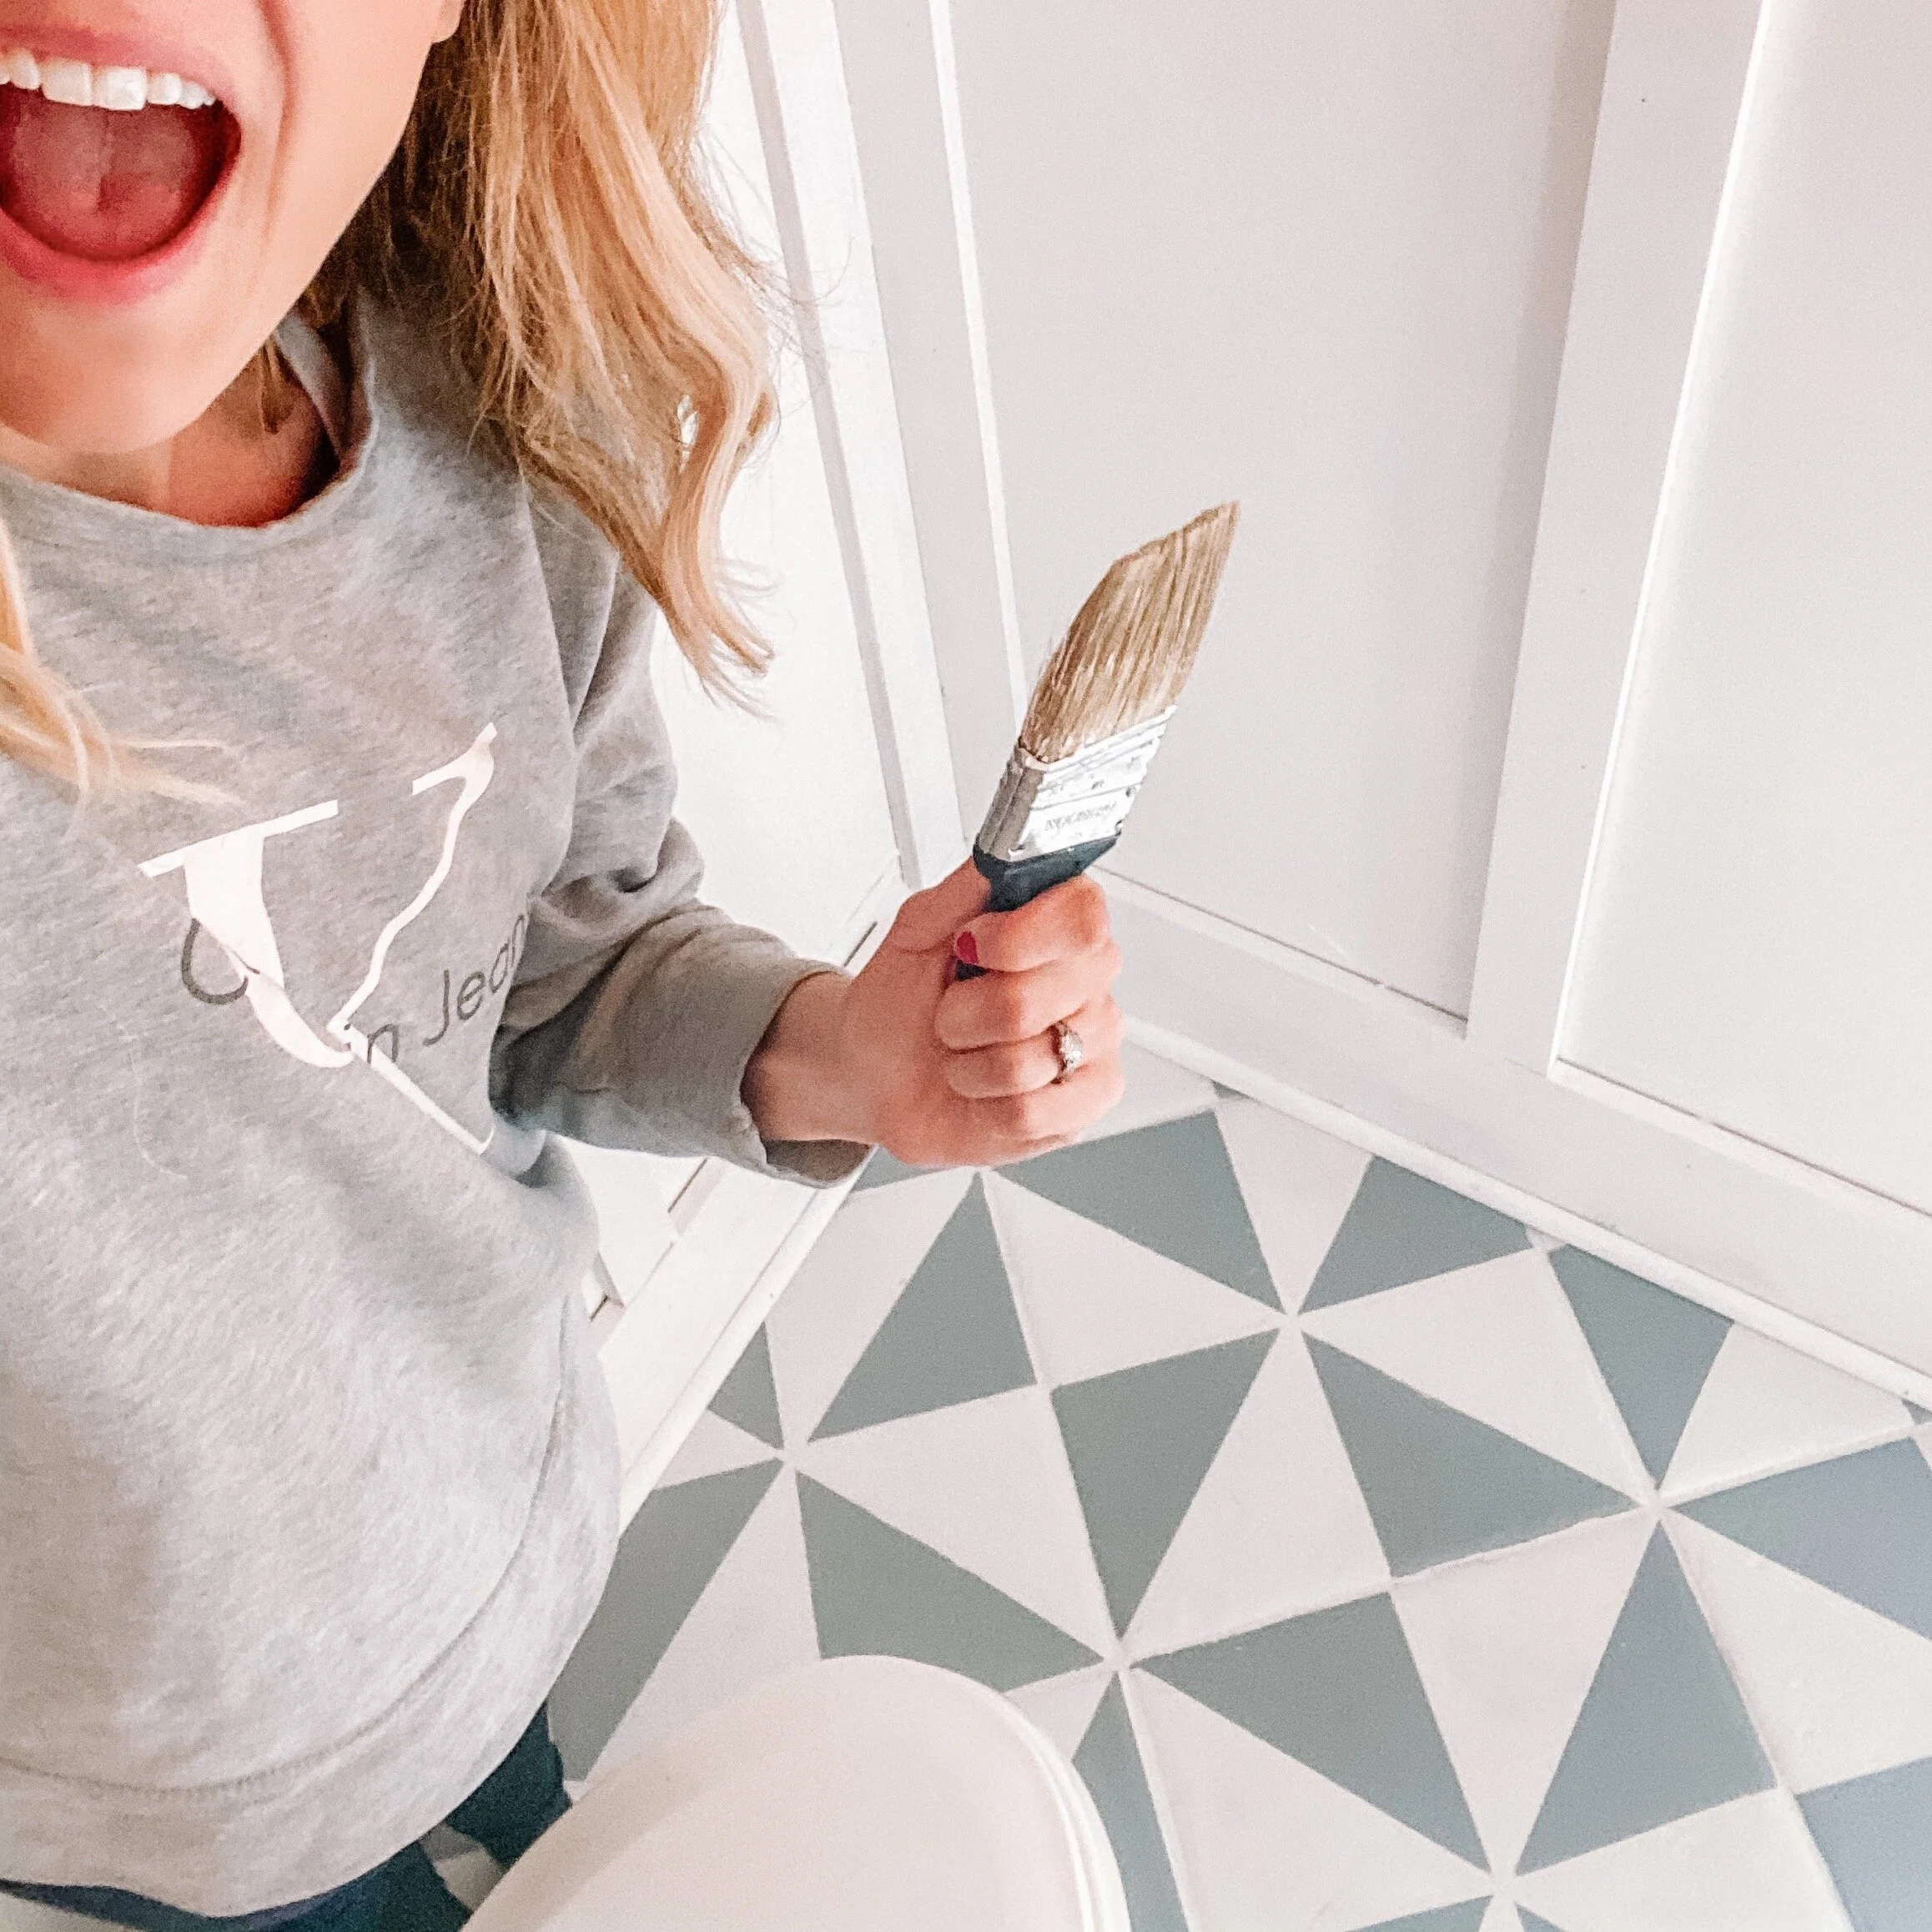
Check em out!