Board & Batten

We have quite a few different accent wall styles in our home. We have shiplap (obviously), we have wainscoting, we had beadboard. With all that said, I finally caved to the board & batten. This accent wall style was so easy and inexpensive; I cannot believe it’s taken me this long to try it.
As some of you may have heard, I’ve promised straight-forward and easy to follow steps. So, I’m going to keep this guide simple and to the point. Let’s get to it!
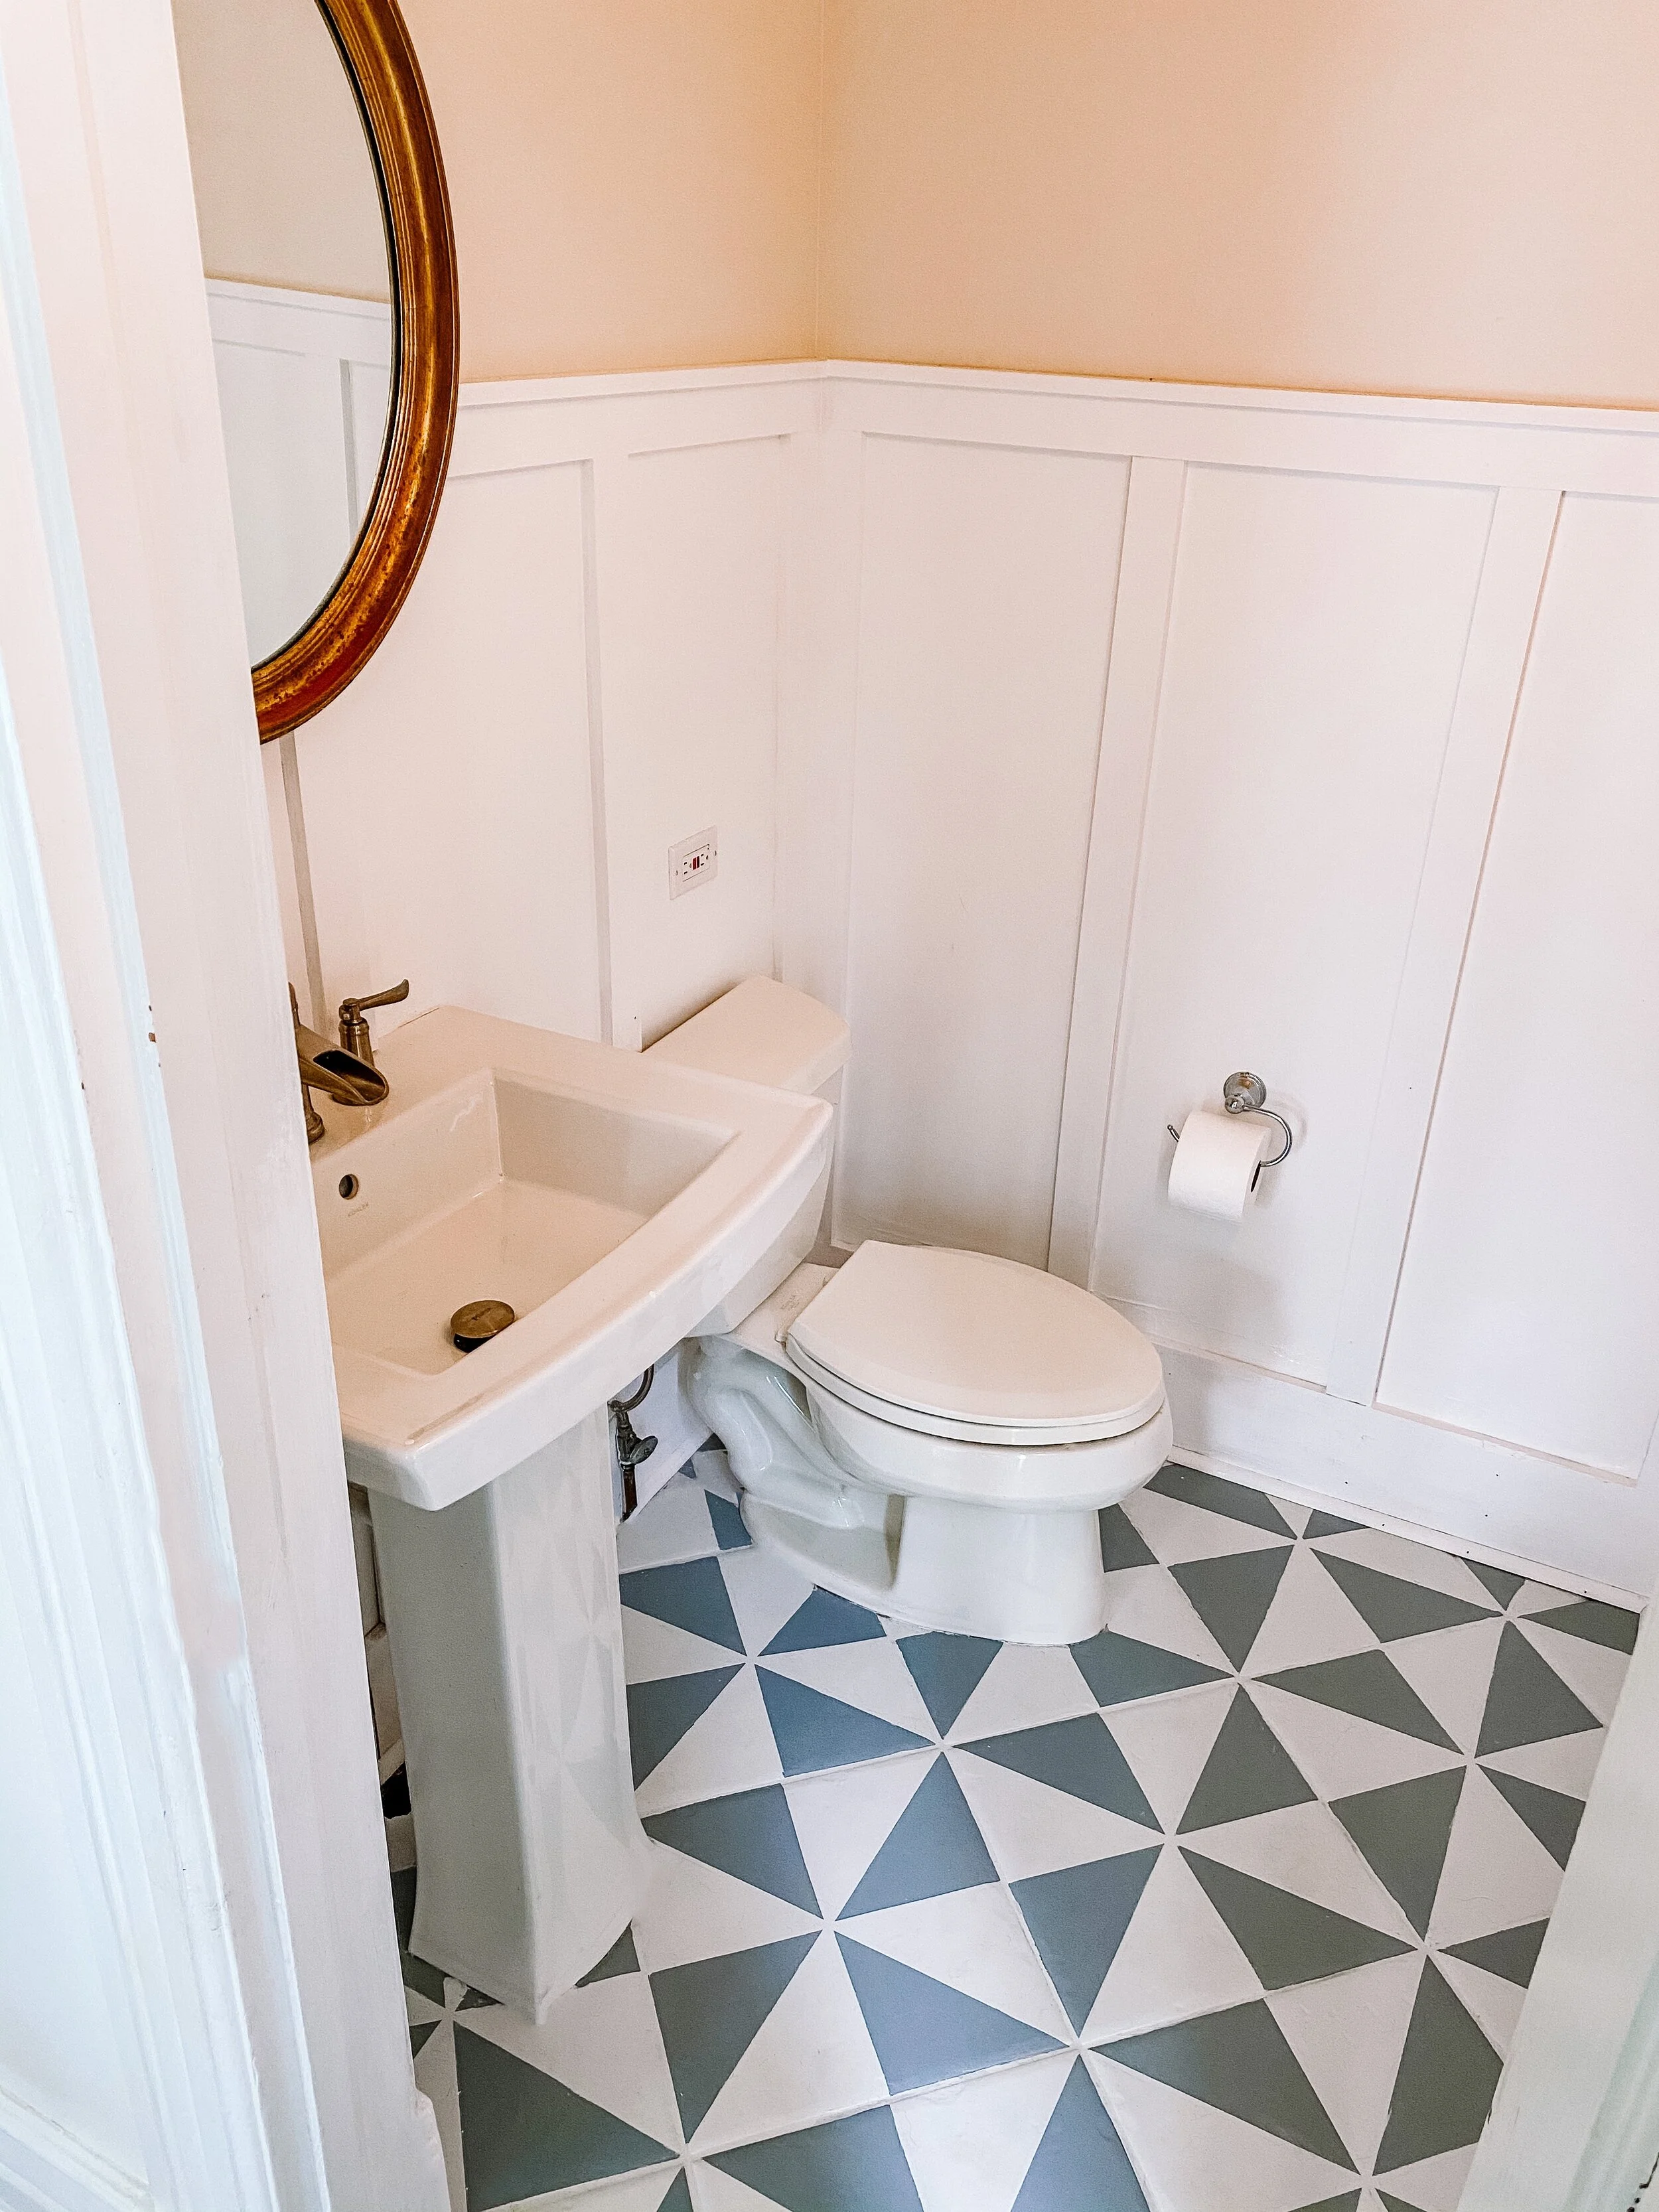
Here’s what our powder room looked like prior to any upgrades.

Not great. Totally workable, however.
This project only cost us about $100, but we did use some materials we already had on hand. Here’s what we used for this project:
Wood Planks- 1X3, 1X6, trim pieces
Pry Bar (for removing any existing baseboards)
Step one was a little bit of demo. We pulled off the existing baseboards because they were in pretty rough shape. The process goes pretty quickly with a small crow bar. You can pick up inexpensive pry bars are any hardware store.

Once the baseboards were removed. We measured the height. We knew that we wanted the board and batten to be roughly eye level, and worked backwards from there. We then began to paint our walls (in Behr Polar Bear) as the backdrop for the board and batten.


Next we added the new baseboard. For the baseboard we used 1X6 planks of wood. I envisioned a more modern look to match our geometric floors. We used a level and a nail gun to secure these planks to the wall. We then added a small piece of trim to cover the seam between the plank and the floor.

Next week added the 1X3 planks of wood that make up the board and batten pattern. We started by adding two planks in the corner, and then worked our way around the space.

Adding planks behind the toilet, sink, and piping was tricky. In some areas we had to cut the wood into smaller pieces before securing to the wall. Eventually, we made it all the way around the room. Finally, we added the top portion of the board and batten to create each “rectangle.”

Up next was paint. We decided to paint prior to adding the top “ledge” piece to ensure everything was covered properly. We painted the 1X3 planks and the upper part of the wall. For the upper part of the wall we used Behr White Mocha, which is a warm, creamy white.

After painting was complete, all that was left was adding the final top “ledge” of the board & batten. We secured the ledge to the wall and other planks with a nail gun.

As a final step, we used caulk to fill the seams. And voilà, board & batten update complete! What do you think? Would you try this in your home?