

Easy and Inexpensive Kitchen Updates
So, here’s the deal. We don’t have an open concept kitchen, farmhouse sink, quartz countertops, or custom cabinets. I know, I know, your sympathies are much appreciated. What we do have, a small kitchen stuck way at the back of our house, is actually pretty typical of an older home. Today, we see the kitchen as the heart of the home. Not so much back in the day. Kitchens used to be tucked away and not to be seen by guests. Oftentimes in older homes, the formal dining room took center stage.
So while we sit and dream of our future, open-concept kitchen (complete with giant island), we needed to find a way to update what we have. Our method was very typical of us — labor intensive and money saving. Most of these updates can be utilized by renters as well. We’ve done no major construction, no new appliances, and no new plumbing. Sometimes it’s the simplest updates that can make the biggest impact, especially while you’re waiting for someday to get here.
When we moved in, we looked at the kitchen, shrugged, and said “eh, we’ll do an addition some day.”
That lasted about two seconds. She needed an update! I couldn’t look at her any longer. There was potential there.


Cut us a break, ok? We were moving in! In fairness, here’s one photo from before our things exploded all over the kitchen.

Let’s take an inventory, shall we? We have no hardware, outlets everywhere (for no apparent reason), appliances in strange places, one very dated light fixture, blue walls, and (very mid-2000s) green, granite counter tops. I may or may not have made this list out loud, through tears, shortly after moving in. Too dramatic? I didn’t think so.
But that’s looking at the glass half empty (Barrett cajoled). On the other hand, we have excellent natural light, recessed lighting, and the ability to make a lot of design choices.
So let’s cut to the chase. What is the simplest way to update a kitchen? Paint. Painted cabinets are, by far, the quickest and cheapest refresh out there. There are so many great paint choices too! Right now, I’m super into black cabinets. Like these:

Or these,

Or these,

See what I mean? However, our countertops are pretty dark, and the faces of our cabinets aren’t so modern; we decided to go with white. In order to paint the cabinets, we needed to remove all the faces, sand them down, and then reattach. Sanding was, by far, the toughest part of the process. We purchased a Dewalt Hand Sander which made the job so much easier. I highly recommend this tool, it’s one of our absolute favorite purchases of all time.
After sanding, we painted the cabinets Behr Polar Bear in a semi-gloss finish. Kitchen cabinets have a tendency to collect grease, food products, and other general nastiness. A glossy, satin, or semi-gloss finish makes kitchen cabinets much easier to clean. After the cabinets were painted we put them all back together.


Next, we painted the walls and added hardware. We chose gold hardware from Joss and Main. From there, we decided to add a tile backsplash.
For our tile backsplash, we went with a 3x6 classic subway tile with dray gray grout. I absolutely love a light grout look, but we chose dark grout in an attempt to tie in our dark green counter tops.
At first, we were really nervous to tile ourselves. However, we got pretty good at it! The key was using a level with each row, just to make sure they were super straight.
Finally, we needed to do something about the light fixture. To be honest, I’m still on the hunt for my perfect kitchen light fixture. However, in the meantime we gave our current fixture an easy and cheap update.

I removed the dated, glass shades to expose the bulbs. Then, I swapped the regular bulbs out for Edison bulbs. It’s still not my dream fixture, but it’s definitely more interesting and less drab.
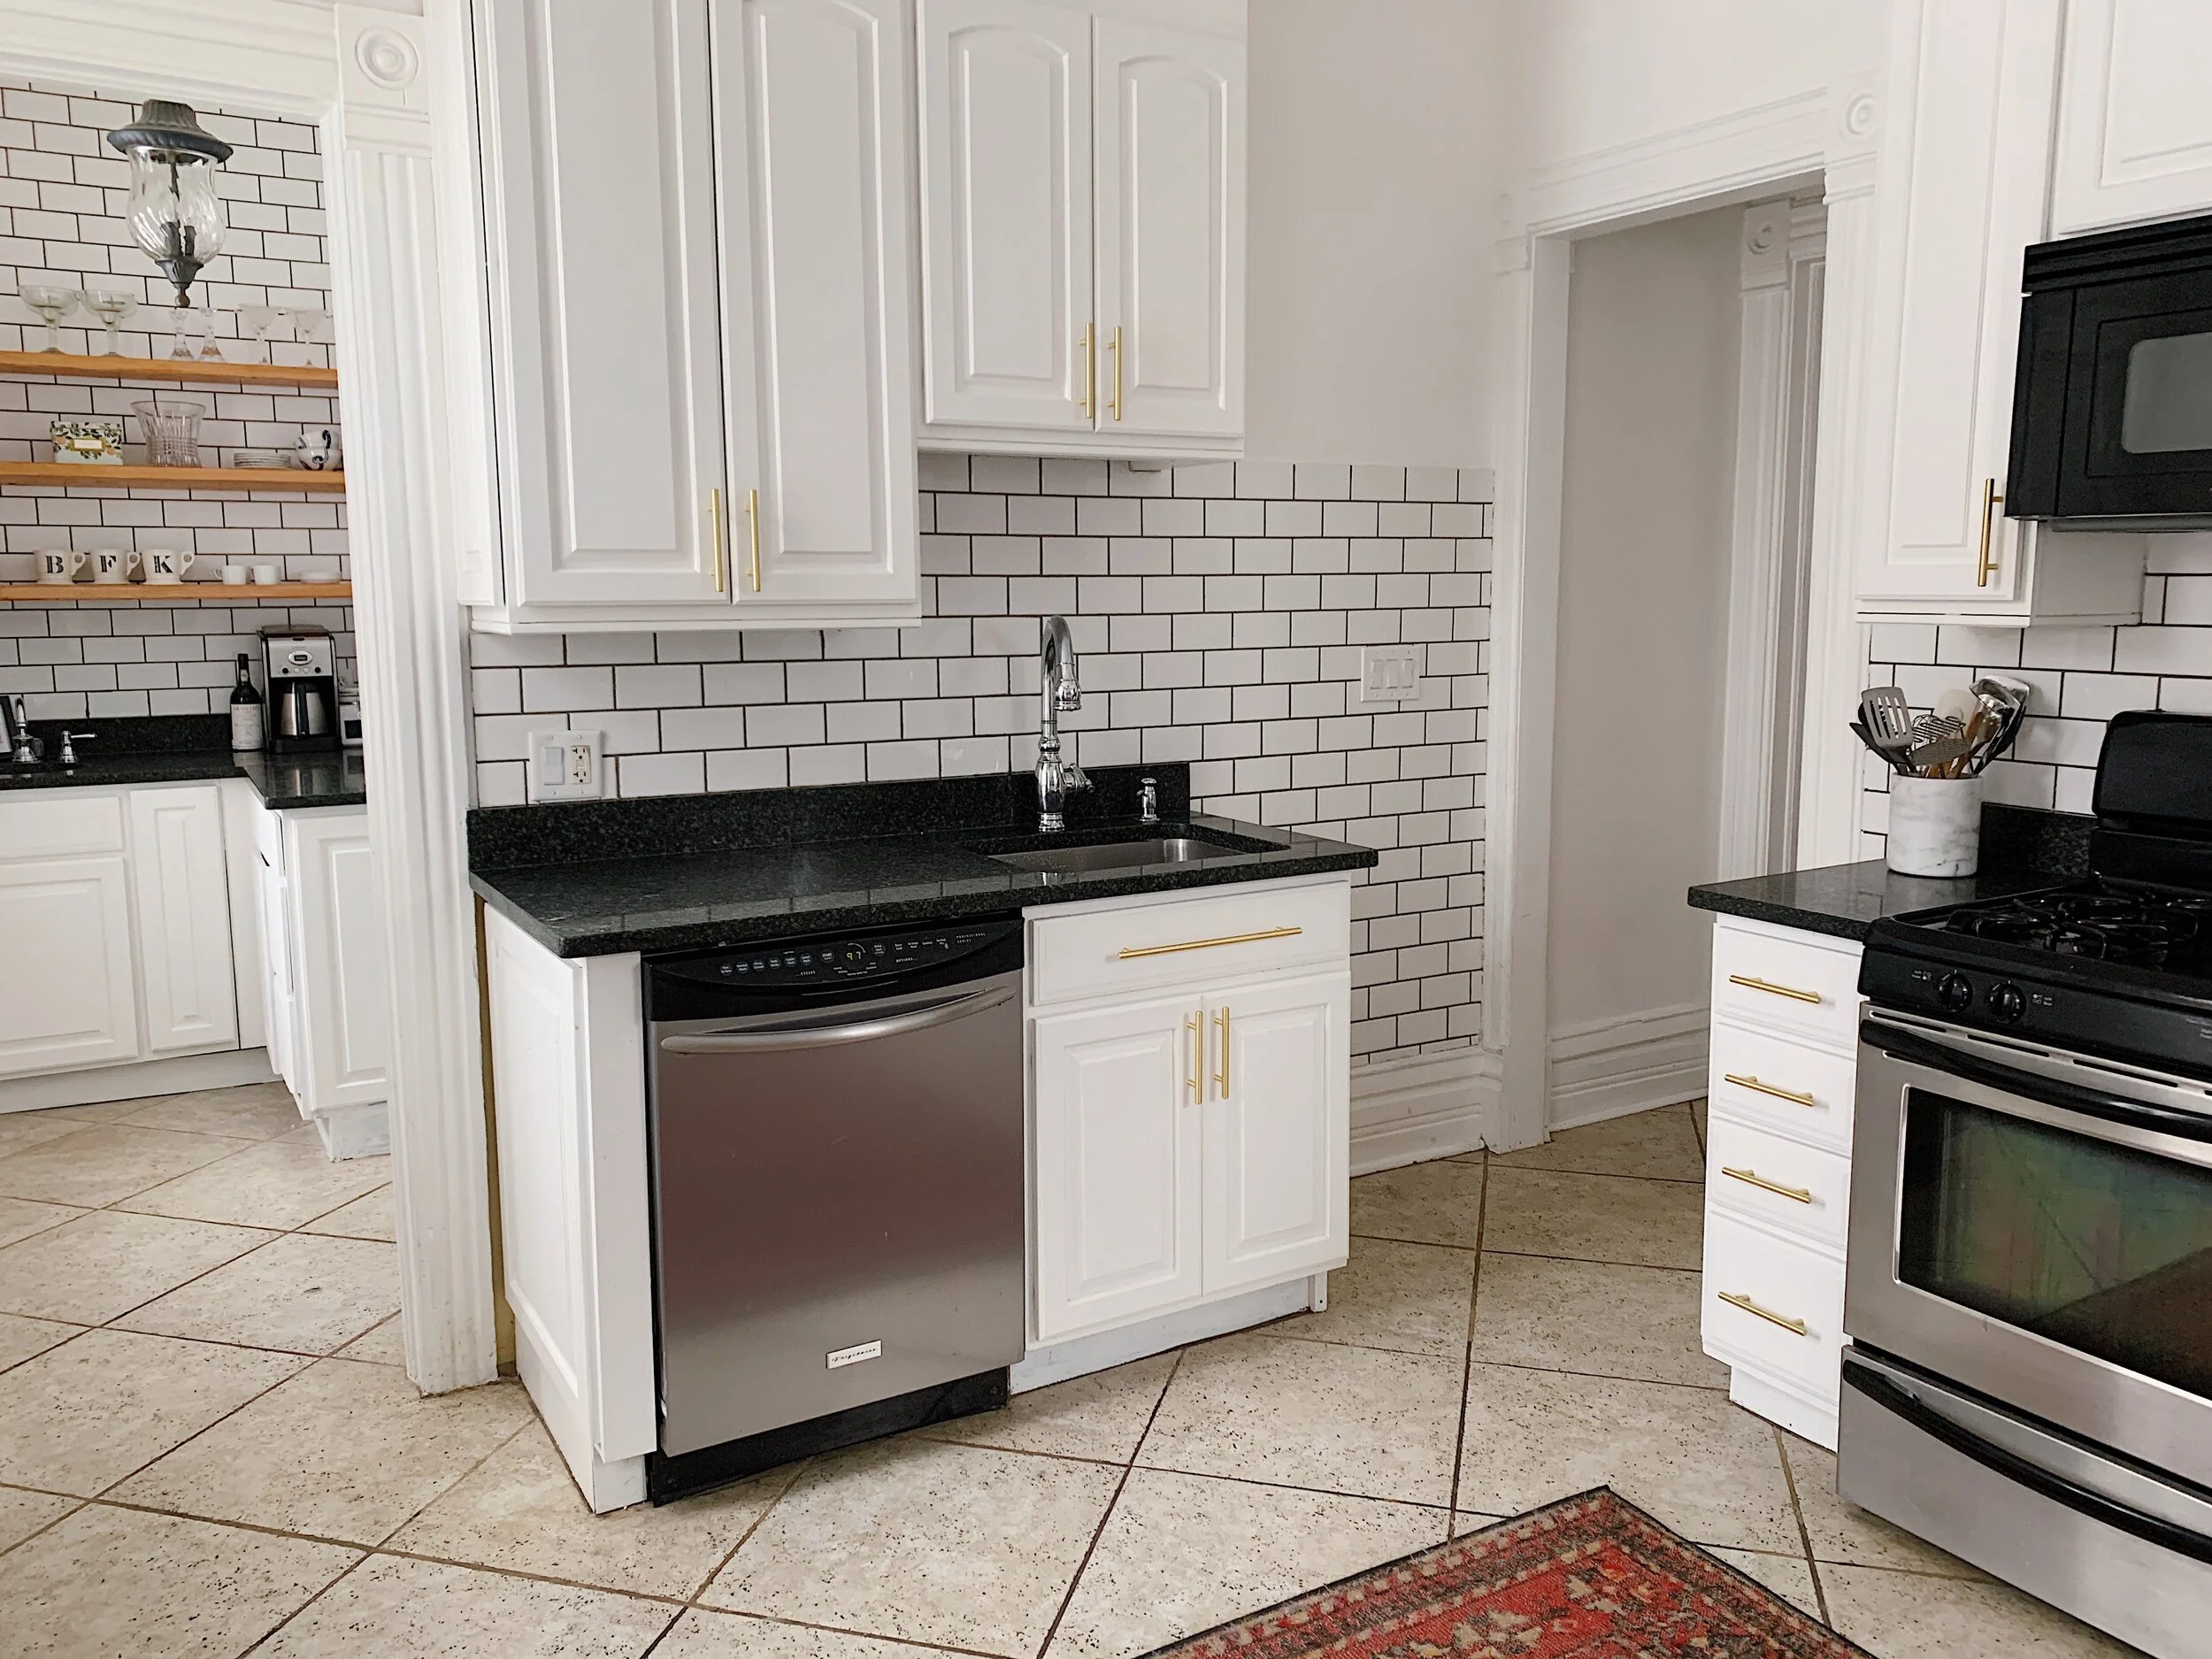
Painted cabinets, hardware, and subway tile can go a long way! We also turned our butler’s pantry into a coffee nook, but we’ll detail that project in a separate post. Finally, we added some decorative elements, like a rug, to cover our less-than-favorite floor tile.
All in all, we probably spent about $250 updating our kitchen. So while I continue to dream about my future blog post on a fantastic, open-concept kitchen, our current tiny kitchen has quickly become one of my favorite rooms in the house. Take a look!


