

Closet Re-org
I’ve got good news and I’ve got bad news. First, the good news - Our closet is finally organized! Cue the fireworks, brass band, and baton twirlers. It’s been a long time coming, and I certainly had my doubts; but here we stand, victorious.

Now, for the bad news. I regret to inform, that in a tragic and freak iPhone accident, we lost ALL the “before” photos of the closet. Unfortunately, I’ve had to part with the idea of a transformation blog post. I’ll spare you the few, shoddy boomerangs via Instagram, and provide a short summary of how we completed this project.
You’ll have to trust me when I tell you, it was bad. We had walk-in space, but really only one hanging bar. Most of our (my) clothes ended up on the floor. Needless to say, Barrett liked the idea of creating a more organized space for our clothes. He drew up most of the plan for this one.
The first thing we had to do was to completely gut the existing closet. pulled out the existing bar and the built in dresser. I normally love built-ins, however in this case, the dresser just didn’t work. The drawers would get jammed shut, and it took up so much space.

I truly apologize for the quality of this photo. Remember, freak iPhone accident. We appreciate your condolences.
We chose to work with MDF board, once again, for this project. I’ve mentioned my love of MDF board in the past. It’s smooth, inexpensive, and takes paint really well. We first built the base of the closet system, so it sits off the ground a bit. Barrett then framed out the base with 2x4s and secured them to the wall.
After constructing a base that lifts the unit off the ground, we got to work on the main structural part of our closet. We took the MDF, cut it to size, and constructed what we referred to as “large boxes.”

Closet organization systems are generally just a puzzle of different sized boxes all pieced together. We sketched out the different compartments on paper, built properly sized MDF boxes, and hauled them into place. We secured each box to the wall with 2 inch construction screws.

After the boxes were in place, we framed each box with finishing wood (approximately 3/4 inch x 1/2 inch) to cover any rough edges or imperfections. Additionally, we added a strip of baseboard to the bottom of the unit to make it look a little nicer.
We used the leftover MDF board to construct smaller boxes for shoes. We’re hoping to swap these little cubbies out for drawers at some point, but for now the cubbies do the trick!
After the major construction was completed, we used spackle to fill in any small cracks and to cover nail holes. Then, it was time for paint. As you may have noticed by now, I have an extreme fondness for white paint. We painted the entire unit in Behr Polar Bear.
We then mounted the closet pole sockets in each of the boxes. We purchased a very simple closet rod from home depot and cut it to size for each of the boxes. We then put the rod in place, and the closet was complete!
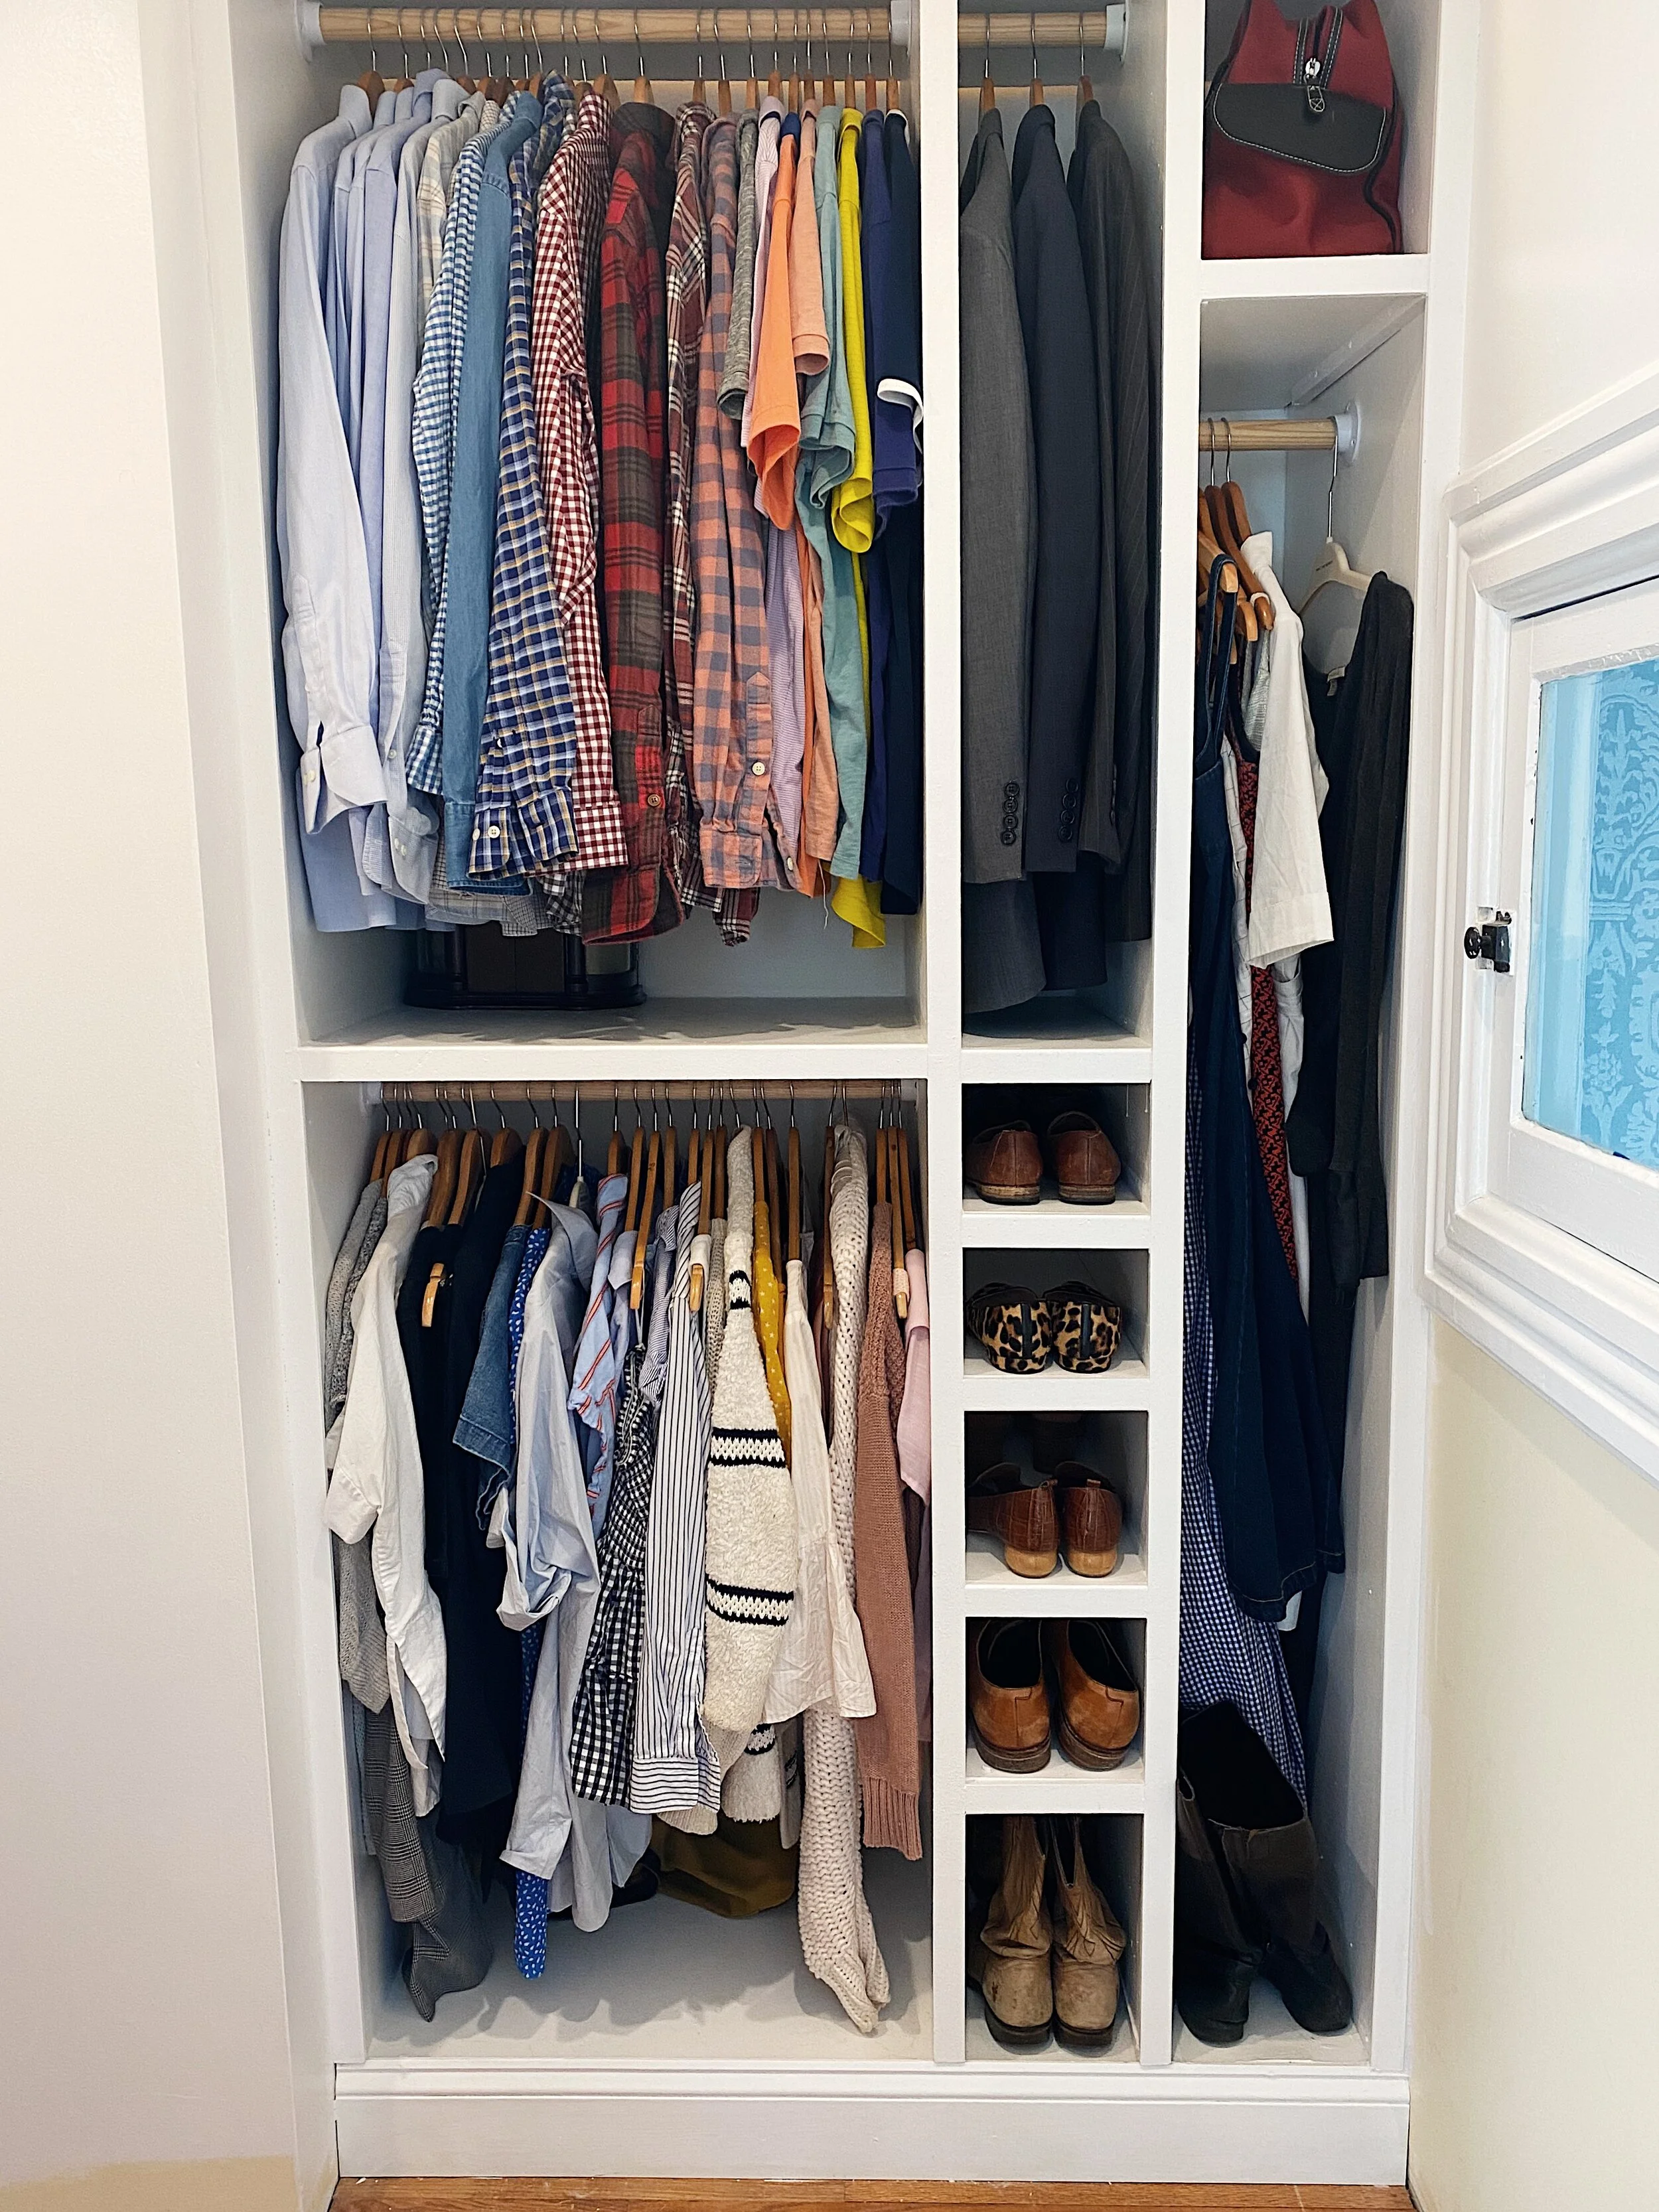

Some of you may be wondering why we have a window in our closet. It’s a relic of the past! This room used to be a dressing room. The window opens up to the top of our stairs. Back in the day, the woman of the house could open the window and call down the stairs to her maids for assistance with her corset, buttons, or laces. Now, I absolutely adore the window, which not only adds tons of character, also allows natural light into our master closet.


